Why Is My Caulking Cracking Around Windows and Trim?

Last Updated: June 29, 2026

Cracked caulking is easy to overlook. Many homeowners first notice it while washing windows, walking around the house, or looking closely at exterior trim. The caulking around windows, siding joints, trim boards, or corner boards may start cracking, shrinking, separating, or pulling away from the surface.


At first, it may seem like a small cosmetic issue. But failing exterior caulking can be one of the earliest signs that your home’s exterior protection is wearing down. In Boise and throughout the Treasure Valley, caulking takes a lot of abuse from sun, dry heat, freezing temperatures, moisture, and seasonal movement. Over time, even quality caulking can fail.


What Does Exterior Caulking Actually Do?

Exterior caulking helps seal vulnerable gaps and joints around the outside of your home. You commonly see it around windows, doors, trim boards, siding joints, fascia, corner boards, and transitions between different materials.


Its job is to help block moisture, air, dirt, insects, and water from getting into places they should not. Caulking also helps create a cleaner finished look and supports the performance of the exterior paint system. When it is working properly, it helps protect the surfaces underneath. When it starts failing, those areas become more exposed.


Why Exterior Caulking Cracks Over Time

Exterior caulking is constantly moving with the home. Siding, trim, and other exterior materials expand and contract as temperatures change. Over time, that movement stresses the caulking and can cause it to dry out, harden, shrink, crack, or separate from the surface.


Boise-area homes deal with a wide range of conditions throughout the year, including intense sun, dry summer heat, freezing winters, snow, rain, and freeze-thaw cycles. South- and west-facing sides of the home often show caulking wear sooner because they usually receive more sun and heat exposure.


This kind of wear is normal over time, but it should not be ignored. Once caulking starts to separate, it can no longer protect the joint the way it should.


Why Failed Caulking Matters

Many homeowners think cracked caulking is only about appearance, but it can lead to bigger problems if left alone for too long. Once gaps open around windows, trim, or siding joints, moisture can begin working behind the exterior surfaces.


Over time, failed caulking may contribute to peeling paint, swelling trim, wood rot, siding damage, mildew concerns, or moisture intrusion. The damage may not be obvious right away, which is part of what makes caulking failure easy to underestimate.


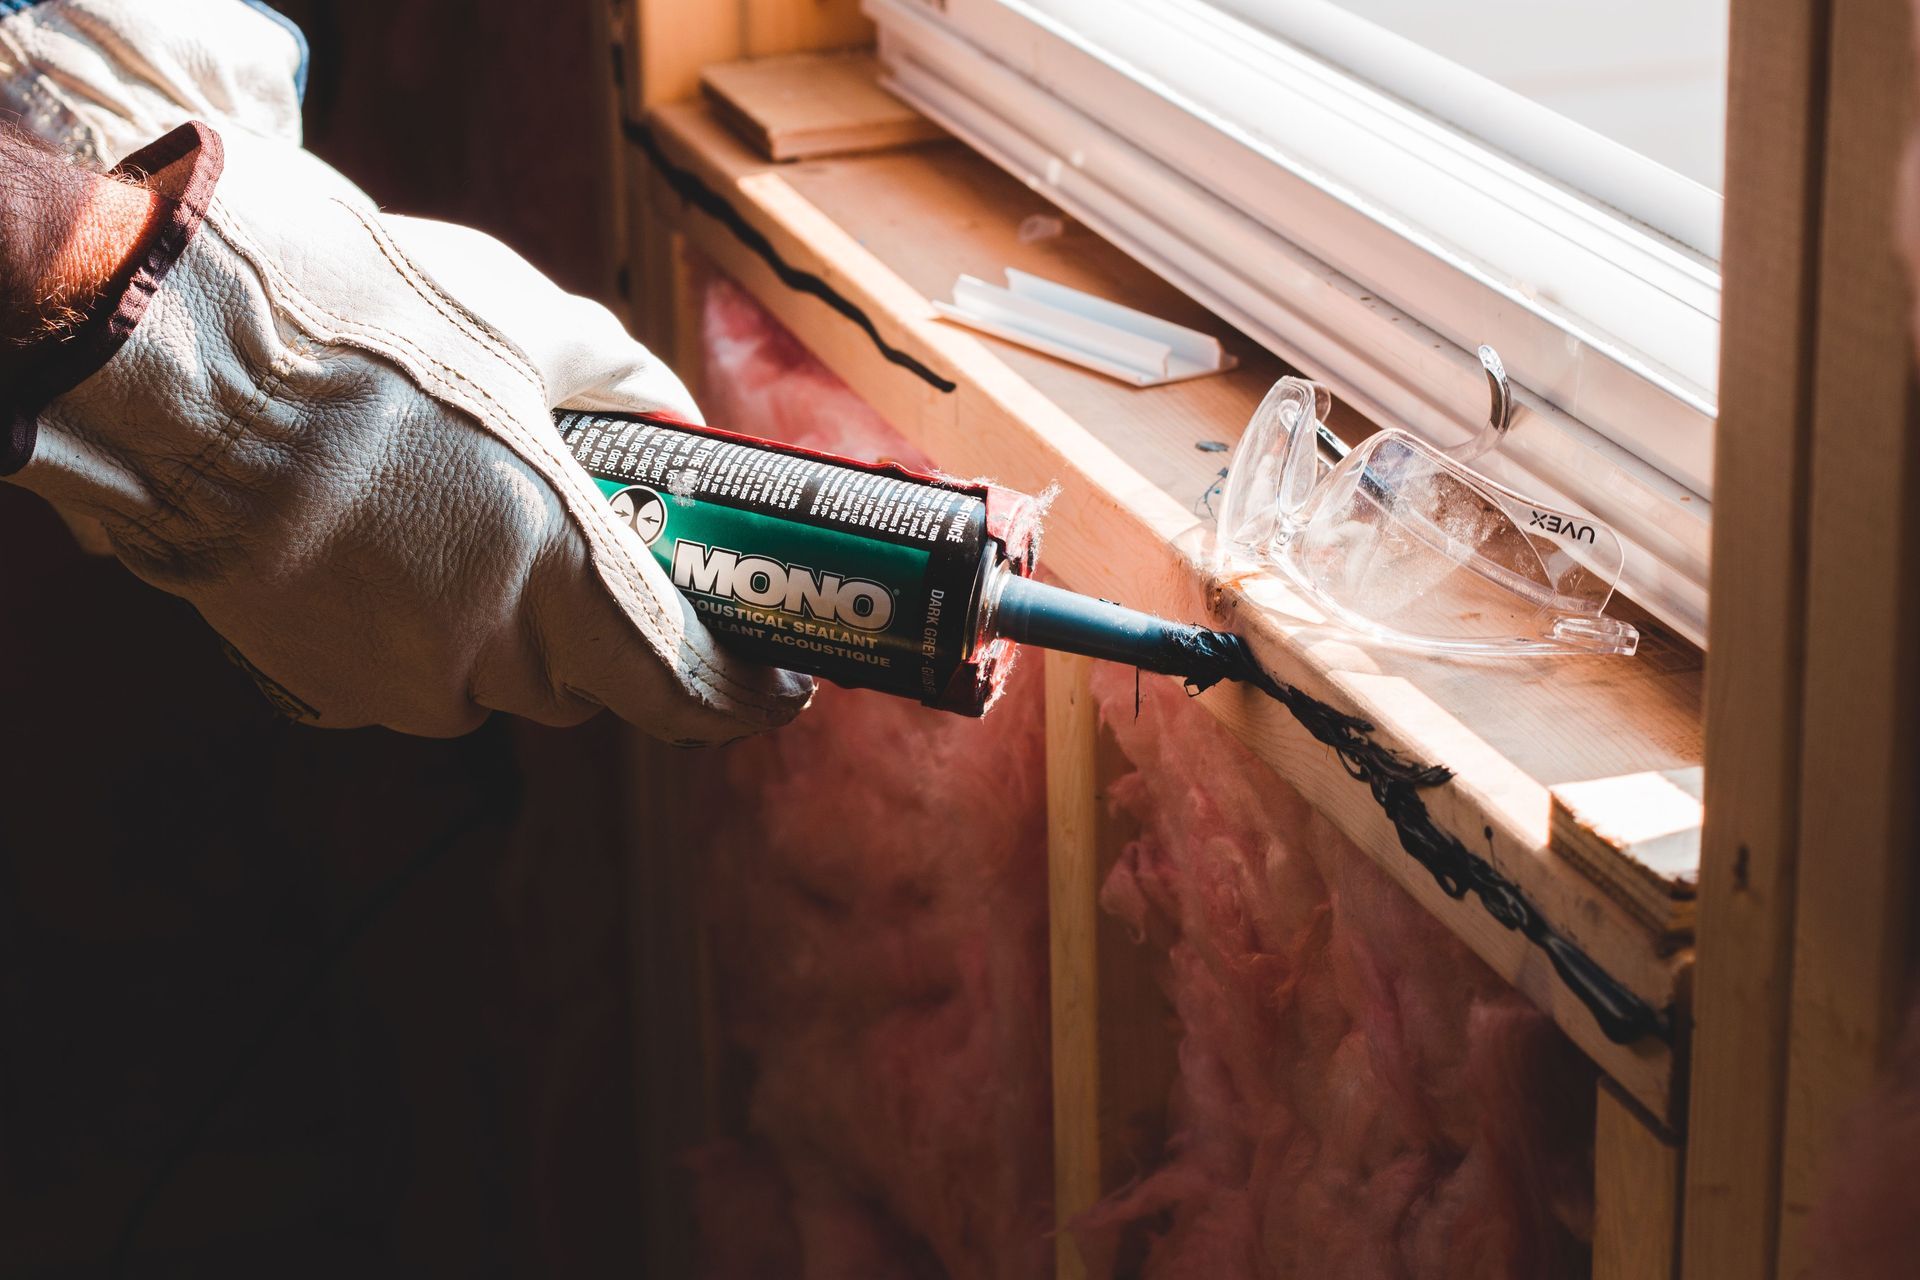
This is one reason exterior prep work matters so much before painting. Replacing failed caulking helps protect vulnerable areas and gives the new paint system a better chance to last.


Signs Your Exterior Caulking May Be Failing

Caulking failure is not always dramatic. Sometimes it starts with small cracks or gaps that gradually become more noticeable. Homeowners should watch for:


  • visible cracking or splitting
  • gaps where caulking has shrunk
  • caulking pulling away from siding or trim
  • hard, brittle, or dried-out texture
  • peeling paint near joints
  • gaps around windows, doors, or trim boards
  • discoloration or deterioration along seams


If these signs are showing up in several areas, especially on high-exposure sides of the home, it may be time to have the exterior evaluated before repainting or repairs become more involved.


Can You Caulk Over Old Caulking?

Sometimes new caulking can be applied over existing material, but it depends on the condition of the old caulk. If the old caulking is still firmly bonded and stable, certain touch-ups may be possible. If it is loose, cracked, brittle, or pulling away, it usually needs to be removed before new material is installed.


Applying fresh caulking over failing caulking may look better for a short time, but it often does not create a long-lasting seal. The new material is only as stable as what it is attached to. If the old caulk is already separating, the new caulk may fail with it.


The right approach depends on the condition of the joint, the amount of movement, moisture exposure, surrounding paint, and the surfaces involved.


How Long Does Exterior Caulking Last?

There is no single timeline that applies to every home. Exterior caulking lifespan depends on sun exposure, product quality, weather conditions, moisture, maintenance, and how much the home’s materials move throughout the year.


In Idaho, caulking on south- and west-facing sides often wears faster because those areas receive more UV exposure and heat. Caulking around windows, doors, and trim may also fail before the paint itself looks fully worn out. That is why it is worth checking these areas during regular exterior maintenance, not only when you are planning a repaint.


Why Prep Work Makes Such a Difference

A long-lasting exterior paint job depends on more than the paint itself. Prep work is what helps the paint system perform properly, and caulking is a major part of that process.


Before exterior painting begins, the home should be inspected for cracked, shrinking, or separated caulking. Failed material may need to be removed and replaced, damaged surfaces may need repair, and moisture concerns should be identified before new coatings are applied. If these steps are skipped, the finished paint job may look good at first but fail sooner than expected.


Good prep helps protect the home, improve paint adhesion, and reduce the chance of moisture-related problems later.


Can Regular Maintenance Help?

Regular maintenance can make a real difference. Caulking does not last forever, but catching early failure can help prevent bigger exterior issues. A quick inspection once or twice a year can help homeowners spot cracks, gaps, peeling paint, or exposed wood before they become expensive repairs.


It is especially smart to check high-exposure areas, including south- and west-facing sides, window trim, door trim, fascia, and siding joints. Keeping gutters working properly, washing exterior surfaces periodically, and addressing peeling paint early can also help extend the life of the exterior paint system.
When Cracked Caulking Means It Is Time to Act

A few small cracks may not mean your entire home needs repainting right away. But if caulking is failing in several areas, paint is peeling near joints, or moisture-sensitive surfaces are exposed, it is worth taking action sooner rather than later.


The right solution may be targeted caulking replacement, exterior repairs, or a full repaint depending on the condition of the home. The important thing is not to ignore open gaps around windows, trim, or siding. Those areas are there to help protect the home, and once they fail, moisture has an easier path in.


Get Clear Guidance Before Exterior Caulking Problems Spread

Cracked caulking is common, but it should not be dismissed. It is often one of the first signs that the exterior needs attention, especially in Boise-area homes exposed to sun, heat, moisture, and seasonal movement.


Spray ’n Coat Painting helps homeowners throughout Boise, Meridian, Nampa, and the Treasure Valley evaluate exterior caulking, trim, siding, and paint condition before recommending the right next step. If you are noticing cracked, separated, or failing caulking around your windows or trim, request an exterior painting estimate to understand what your home needs before small gaps turn into bigger repairs.
September 21, 2026
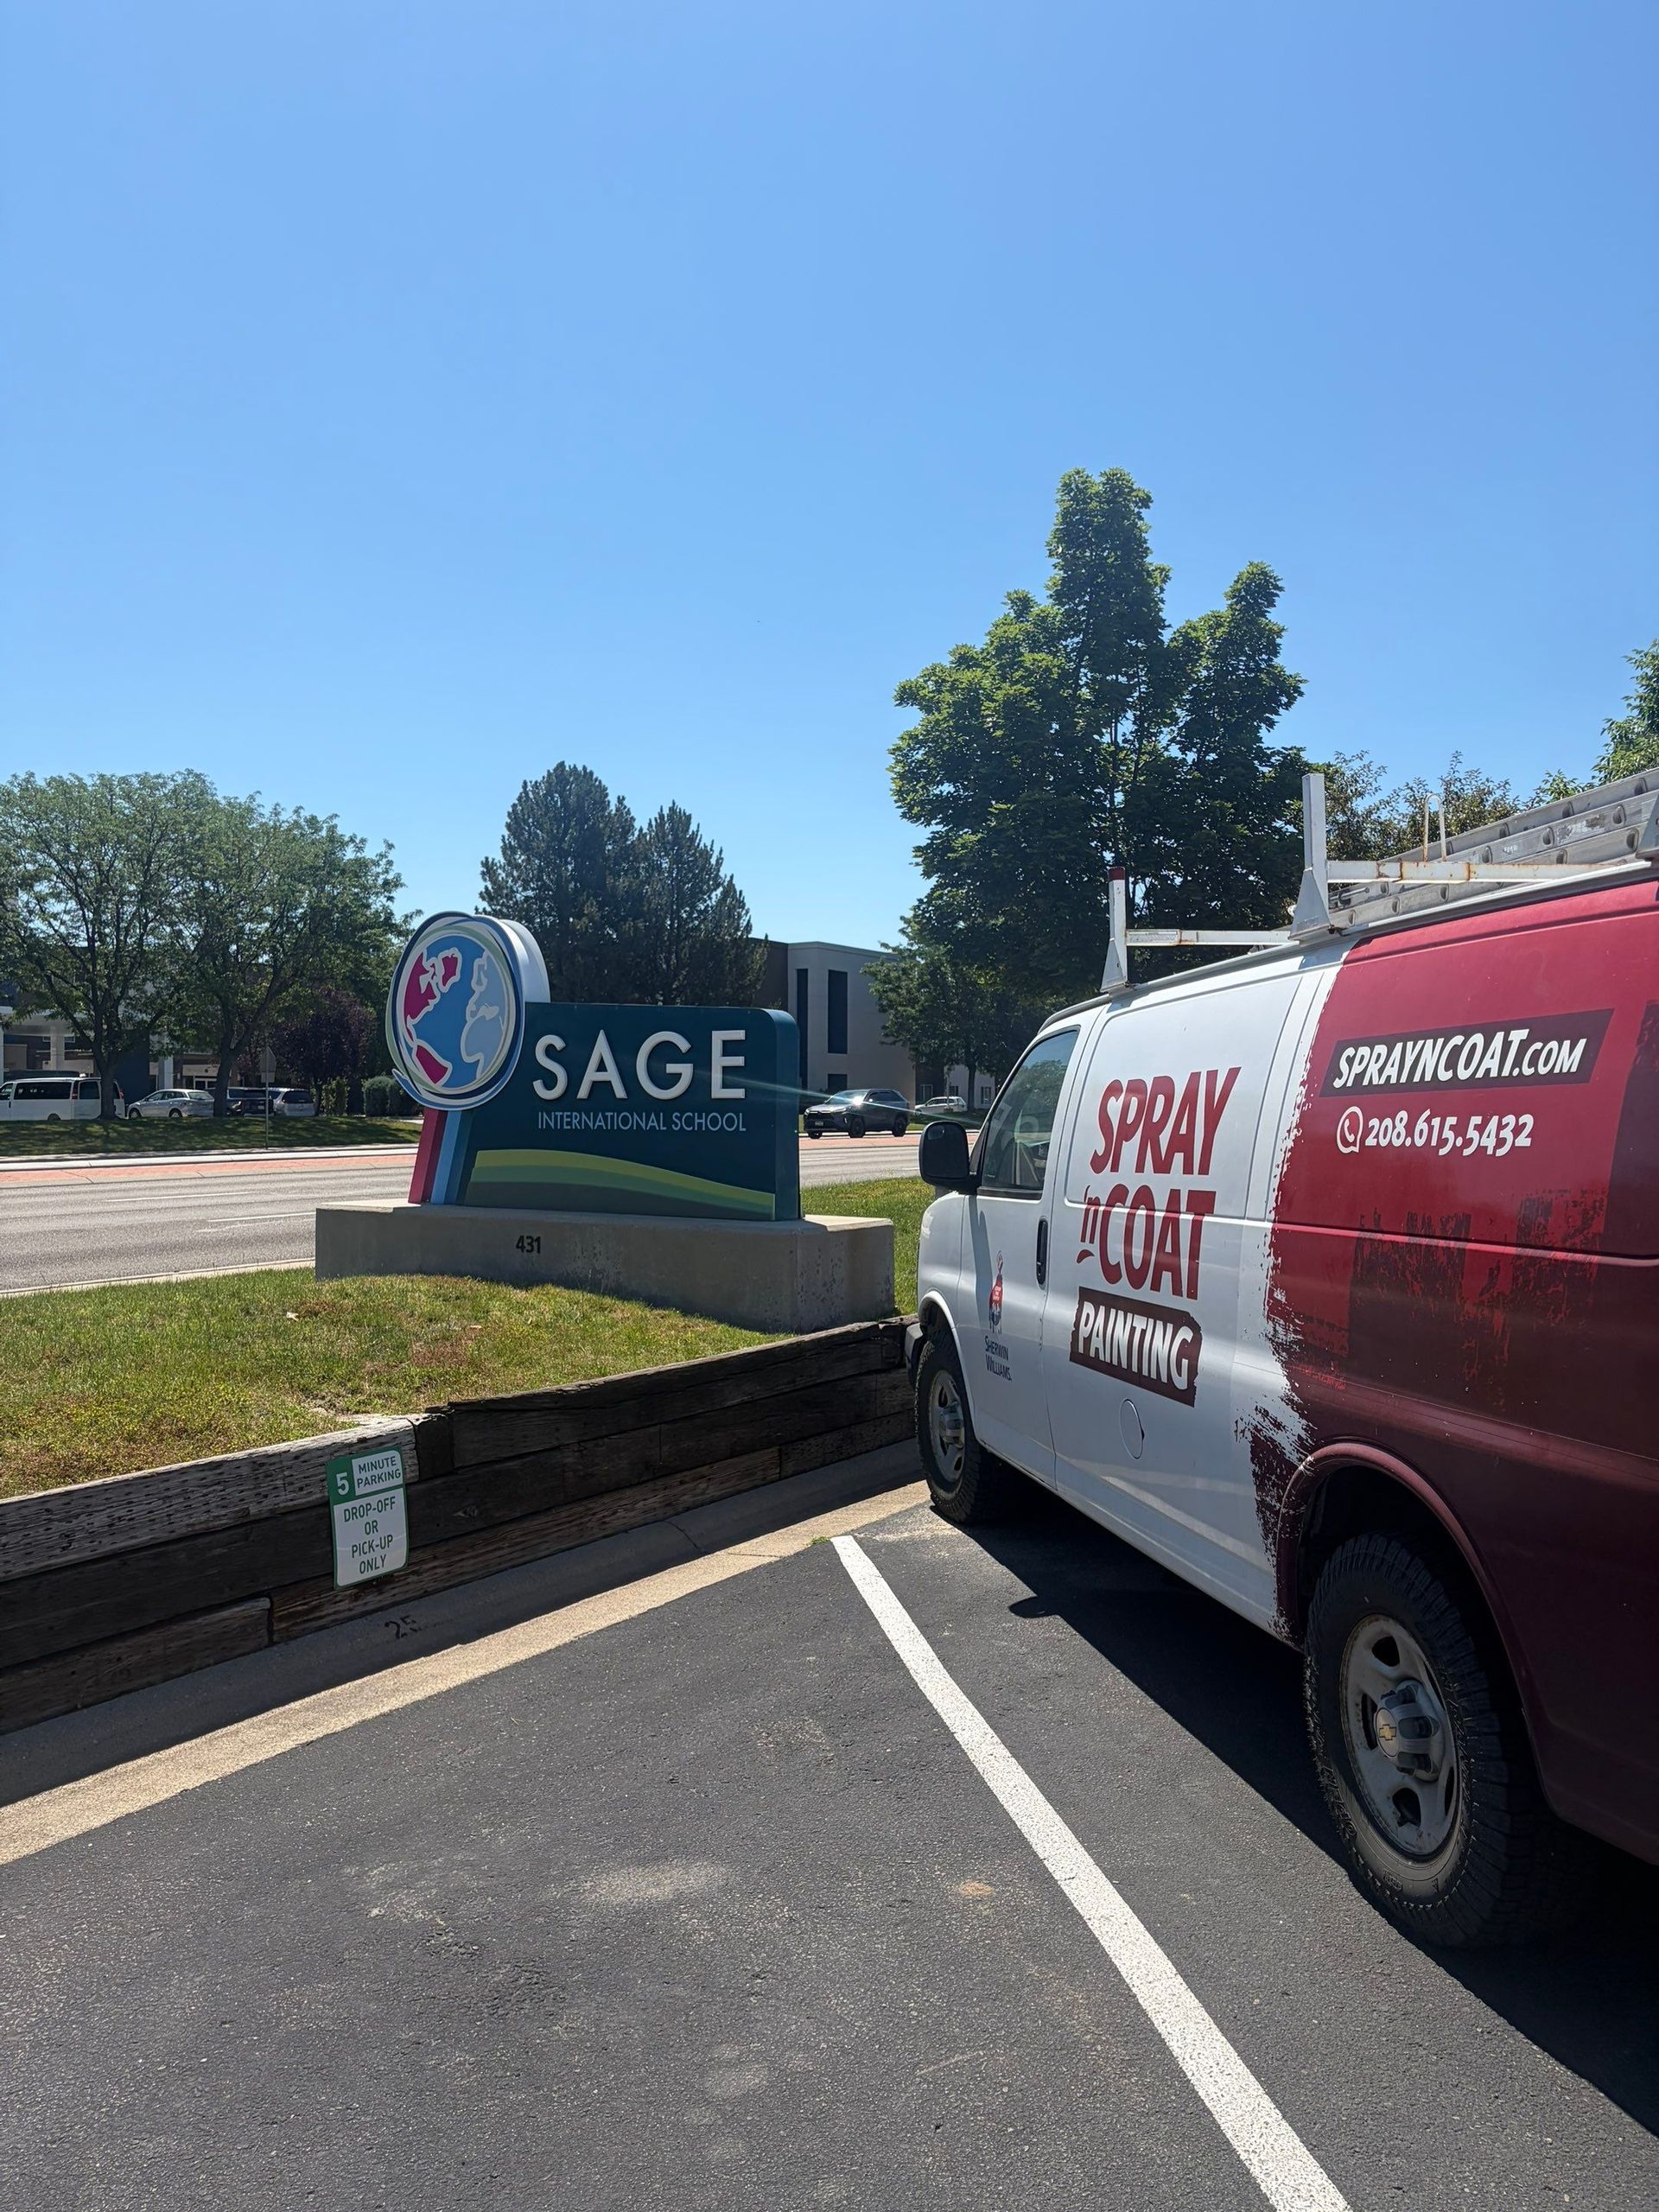
A fresh brand deserves a campus that reflects it. As Sage International School prepared for a new school year, updating the exterior of its Boise campus was an important part of a much larger summer painting project. The goal was to give the building a clean, consistent appearance that better reflected Sage’s updated branding while addressing the wear that comes with maintaining a busy school facility. With a limited summer window and extensive interior work happening at the same time, our team managed the exterior painting from preparation and repairs through final completion, keeping the entire project on schedule before students returned. The Scope A full exterior repaint of Sage International School’s Boise campus designed to refresh the building, address worn surfaces, and create a more consistent appearance that complemented the school’s updated branding. The System A durable exterior finish starts well before the paint goes on. Our team followed a detailed process that included: Surface Preparation & Repairs – Addressed damaged and worn areas throughout the exterior to create a sound surface before painting began. Detailed Exterior Prep – Properly prepared and protected surrounding surfaces to help ensure clean lines, consistent coverage, and a professional finished product. Durable Exterior Coatings – Used quality Sherwin-Williams products selected to provide lasting protection against weather, sun exposure, and the everyday demands of a school campus. Project Coordination – Phased the exterior work alongside the larger interior painting project, coordinating crews and schedules to complete everything within Sage’s required summer timeline. The Impact The completed exterior repaint gave Sage International School’s Boise campus a clean, updated appearance that better reflects the school and its brand. More importantly, the preparation, repairs, and durable coating system provide added protection for the building and a finish designed to hold up for years to come.  The exterior was one piece of a much larger project totaling more than 2,000 labor hours across Sage’s Boise and Middleton campuses , all coordinated and completed within approximately eight weeks and before the start of the new school year. For schools and other commercial facilities, a successful exterior painting project takes more than a crew and a coat of paint. Spray 'n Coat Painting provides commercial exterior painting throughout Boise, Meridian, Nampa, and the Treasure Valley with the planning, preparation, communication, and project management needed to handle large-scale projects from start to finish.
September 21, 2026
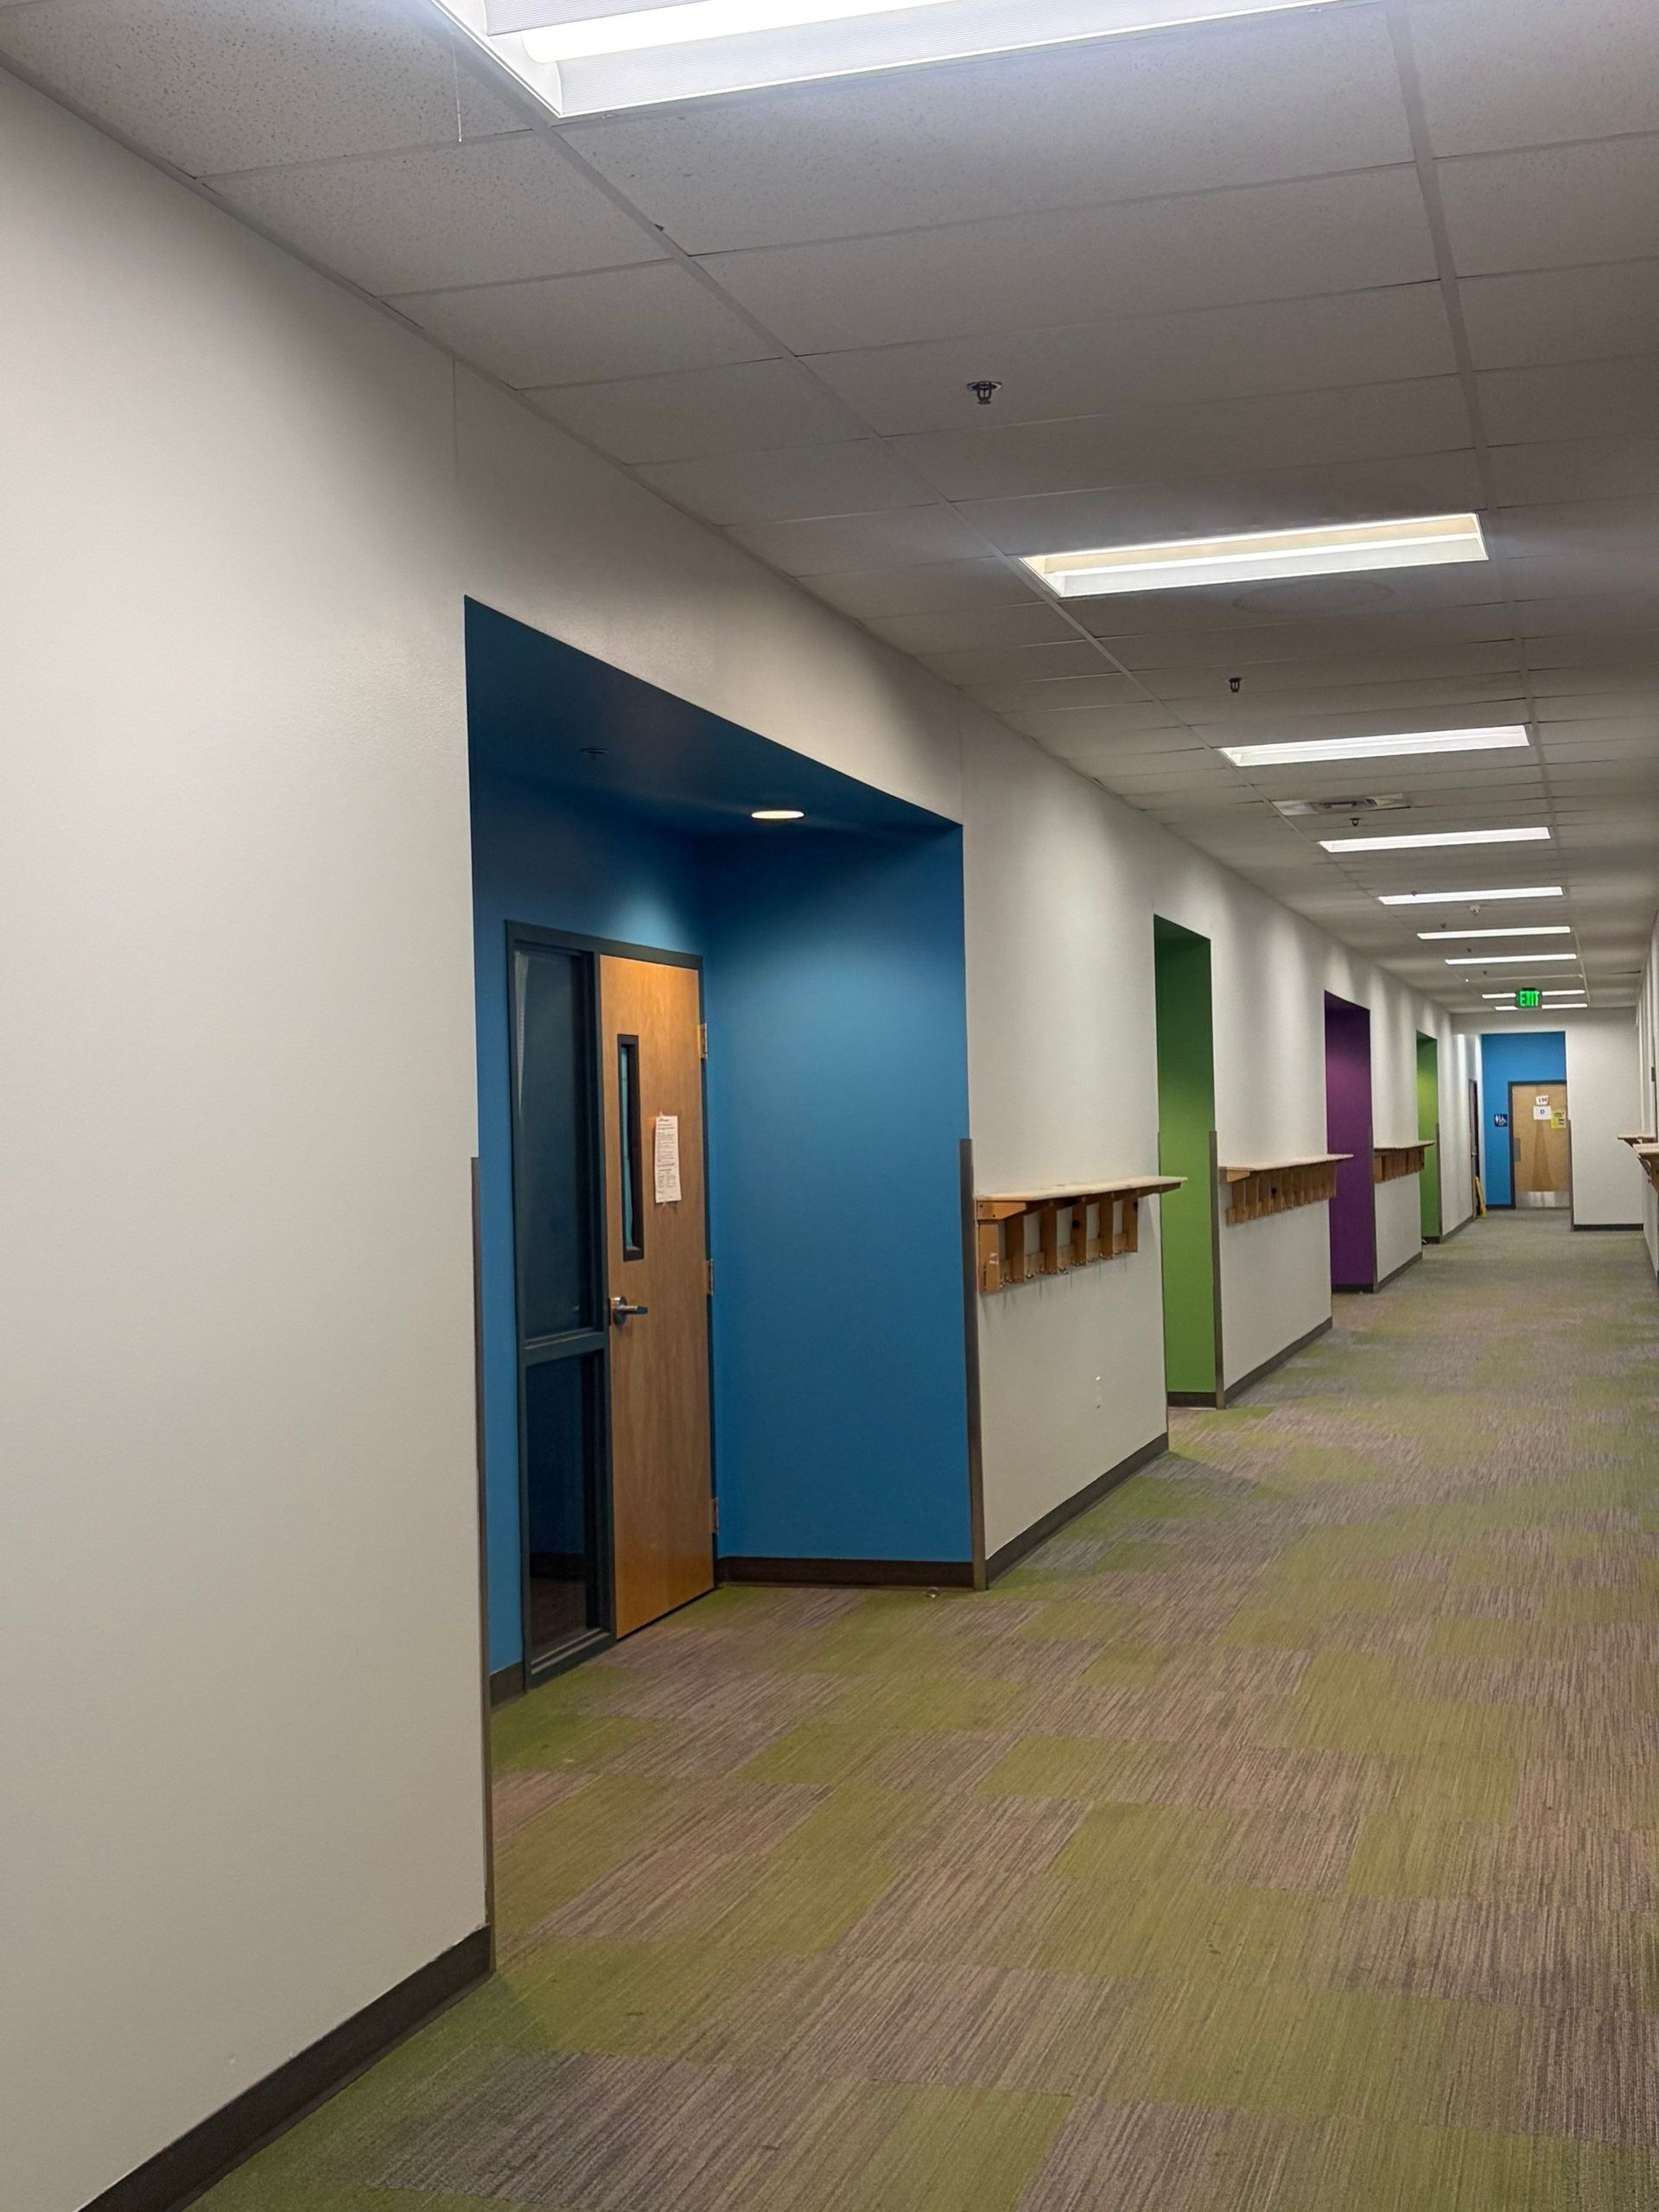
A fresh brand deserves a space that reflects it. As Sage International School prepared for a new school year, refreshing the interiors of its Boise and Middleton campuses was an important part of a larger summer painting project. With only the summer break to complete the work, our team had to coordinate extensive preparation, repairs, and painting while keeping portions of the campuses accessible for limited summer operations. The goal was to create clean, consistent spaces that reflected Sage’s updated branding while using durable finishes designed for the daily wear of a busy school environment. The Scope A large-scale interior refresh across Sage International School’s Boise and Middleton campuses, including hallways, common areas, walls, doors, trim, and key architectural features throughout the schools. The System With thousands of students, staff, and visitors moving through these spaces, durability and proper preparation were an important part of the project. Our process included: Drywall & Surface Repairs – Addressed damaged areas throughout the facilities before painting to create a solid foundation for the new finishes. Fresh White Walls – Applied durable, scuff-resistant coatings throughout high-traffic areas to create a clean, bright foundation that would be easier to maintain. Brand-Matching Accent Colors – Incorporated Sage’s green, blue, and purple brand colors throughout the schools, including accent walls, doorways, and other featured areas. Durable Doors & Trim – Used a high-performance water-based alkyd coating on doors and trim to provide added durability in some of the most frequently touched areas of the schools. Phased Project Coordination – Coordinated multiple crews and phases of work to keep the project moving efficiently while maintaining access to designated areas when needed. The Impact The completed repaint gave Sage International School a brighter, more consistent interior that better reflects its brand while standing up to the demands of a busy educational environment. Careful product selection, extensive preparation, and durable finishes were all chosen with long-term performance in mind. The interior work was part of a larger project totaling more than 2,000 labor hours across Sage’s Boise and Middleton campuses , including both interior and exterior painting. Our team coordinated the repairs, preparation, products, crews, and scheduling to complete the entire project within approximately eight weeks and by Sage’s required deadline. For schools and other commercial facilities, large painting projects require more than applying a new coat of paint. Spray 'n Coat Painting provides commercial painting throughout Boise, Meridian, Nampa, and the Treasure Valley with the planning, preparation, communication, and project management needed to take a project from start to finish.
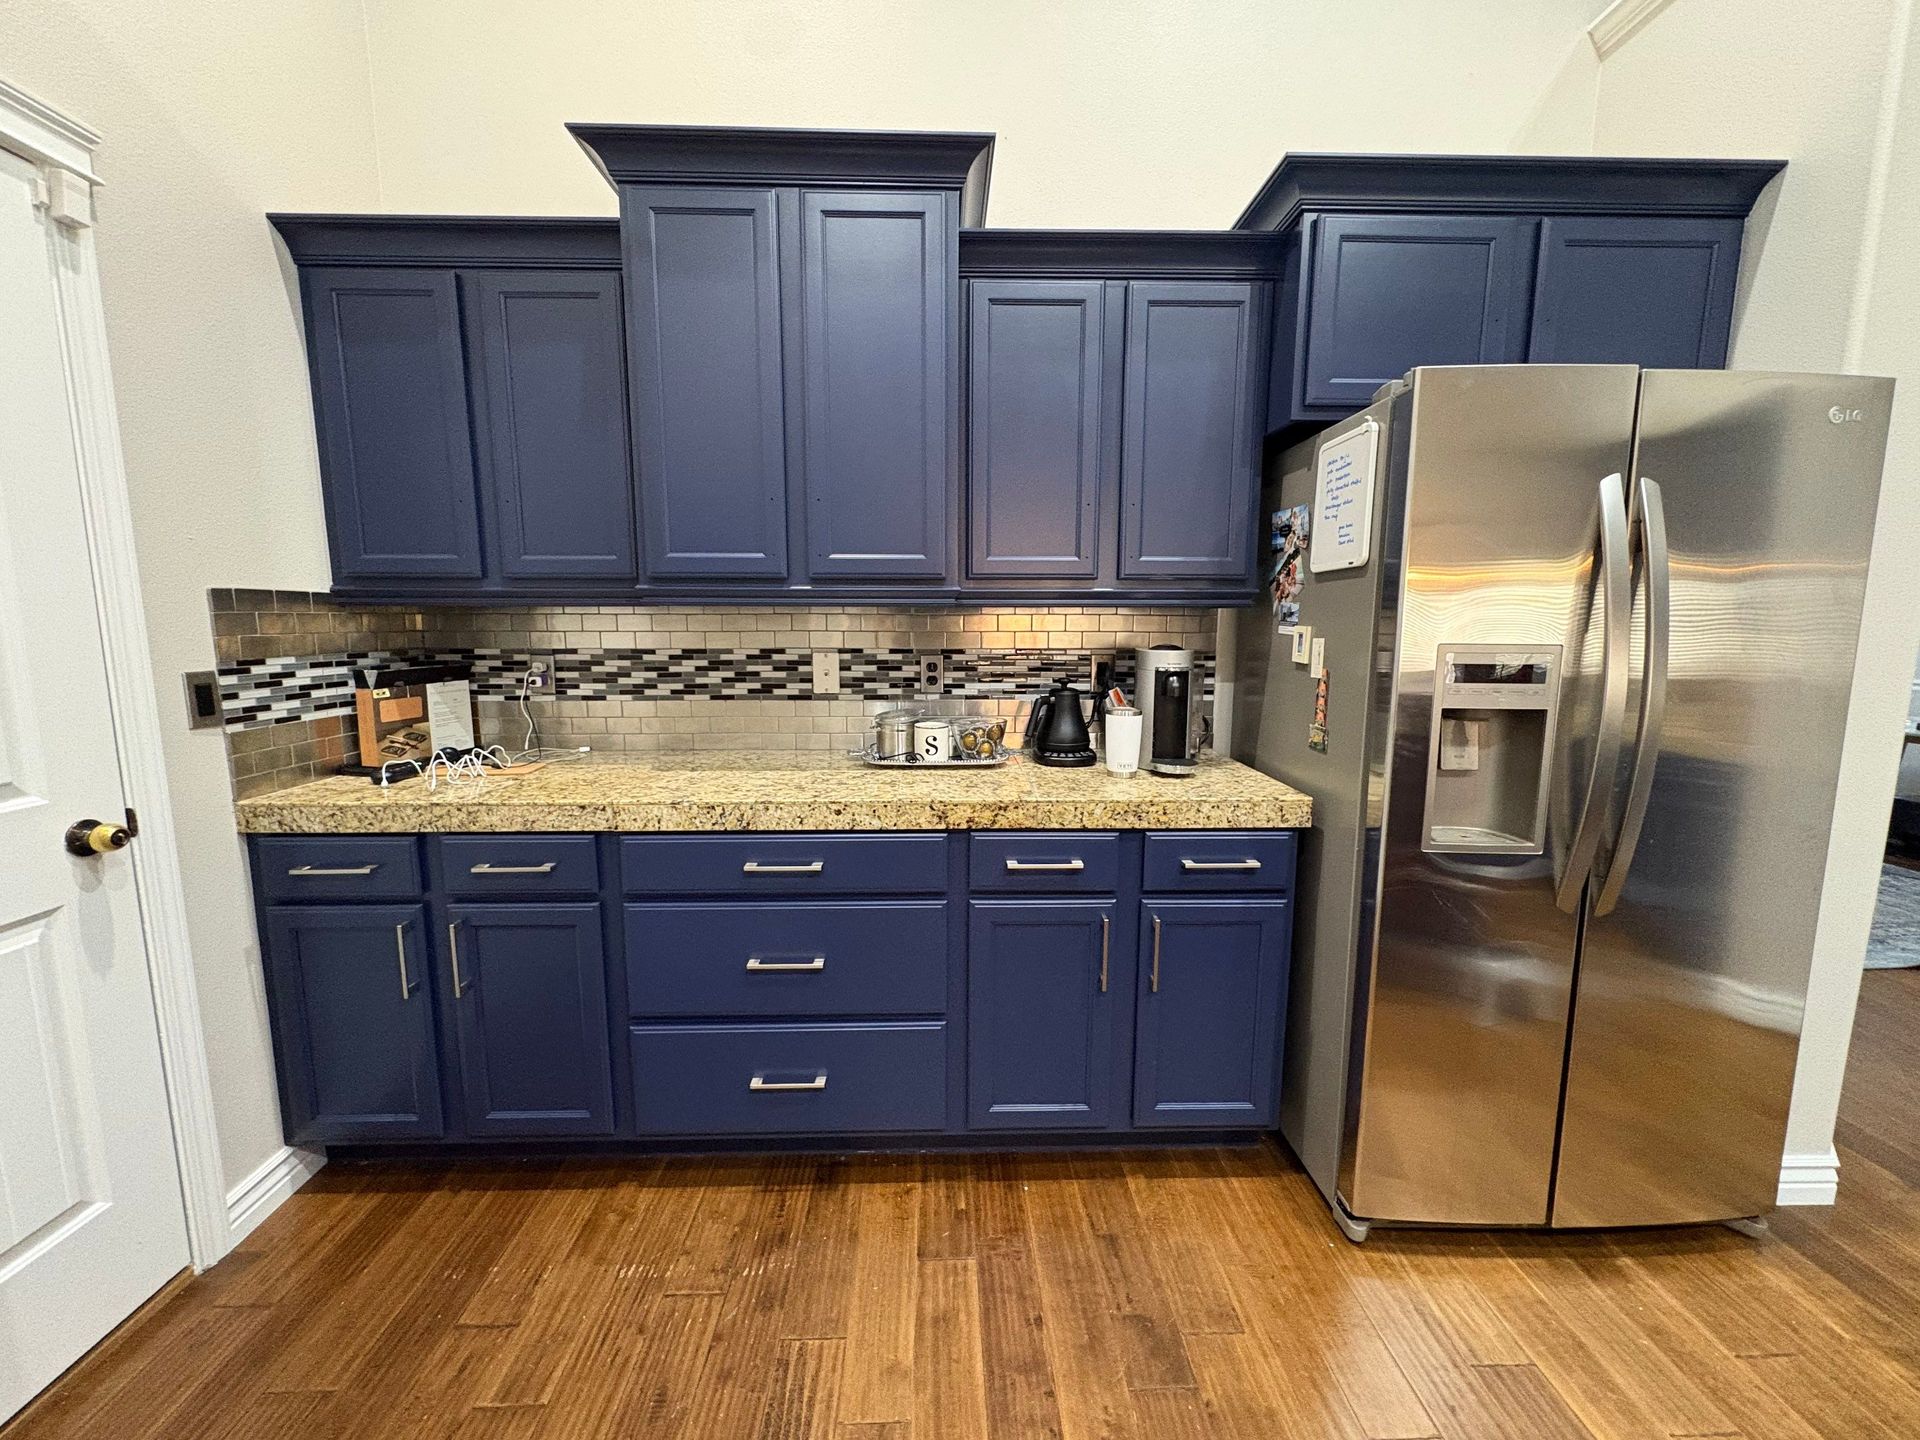
Modern kitchen with navy cabinets, beige countertop, and stainless steel refrigerator on wood floor
September 18, 2026
For this Meridian, Idaho cabinet painting project , the homeowners were ready for a change from their existing black cabinetry. Rather than replacing cabinets that were still in great condition, they chose a new blue painted finish that added more color and personality to the space while keeping the existing cabinet layout and functionality. The Scope The goal of this project was straightforward: take the existing black painted cabinets and refinish them in blue . While going from one painted finish to another may seem simple, achieving a smooth, durable result still requires the right preparation and coating system. Our team worked through the cabinetry carefully, making sure the doors, drawers, cabinet boxes, trim, and detailed areas received a consistent finish. The System A lasting cabinet finish starts well before the final color goes on. Our process focused on preparing the existing black finish correctly and creating a smooth foundation for the new blue color.  Masking & Protection: Surrounding floors, countertops, walls, appliances, and other surfaces were carefully protected before work began. Cleaning & Surface Preparation: The existing cabinets were cleaned and prepared to remove contaminants and create the proper surface for adhesion. Sanding & Detail Prep: Cabinet surfaces were sanded and detailed as needed to address imperfections and prepare the existing coating for the new finish. Primer: The cabinets were properly primed to create a consistent base and help with the transition from the darker black finish to blue. Professional Spray Finish: Doors, drawers, and applicable cabinet components were sprayed to achieve a smooth, even appearance. Durable Blue Coating: A professional cabinet coating provided the homeowners with their new blue color while giving the cabinetry the durability needed for everyday use. Reassembly & Final Details: Once the finish was ready, the cabinetry was carefully reassembled and inspected for consistency. The Impact Changing the cabinets from black to blue gave the space a completely different look without requiring a full cabinet replacement. The black cabinetry had created a much darker appearance, while the new blue introduced color and character while still providing a strong design element in the room. Projects like this are also a good reminder that cabinet painting isn't limited to updating stained wood or going from dark cabinets to white. Sometimes the cabinets are already painted and homeowners simply want a color that better fits their current style. If your existing cabinet color no longer feels right for your home, professional refinishing can give you the opportunity to choose something completely different while keeping cabinetry that's still in good condition. Spray 'n Coat Painting provides professional cabinet painting and refinishing in Meridian, Boise, Nampa, Eagle, Star, and throughout the Treasure Valley . Contact our team or fill out our request form to schedule a free on-site estimate.
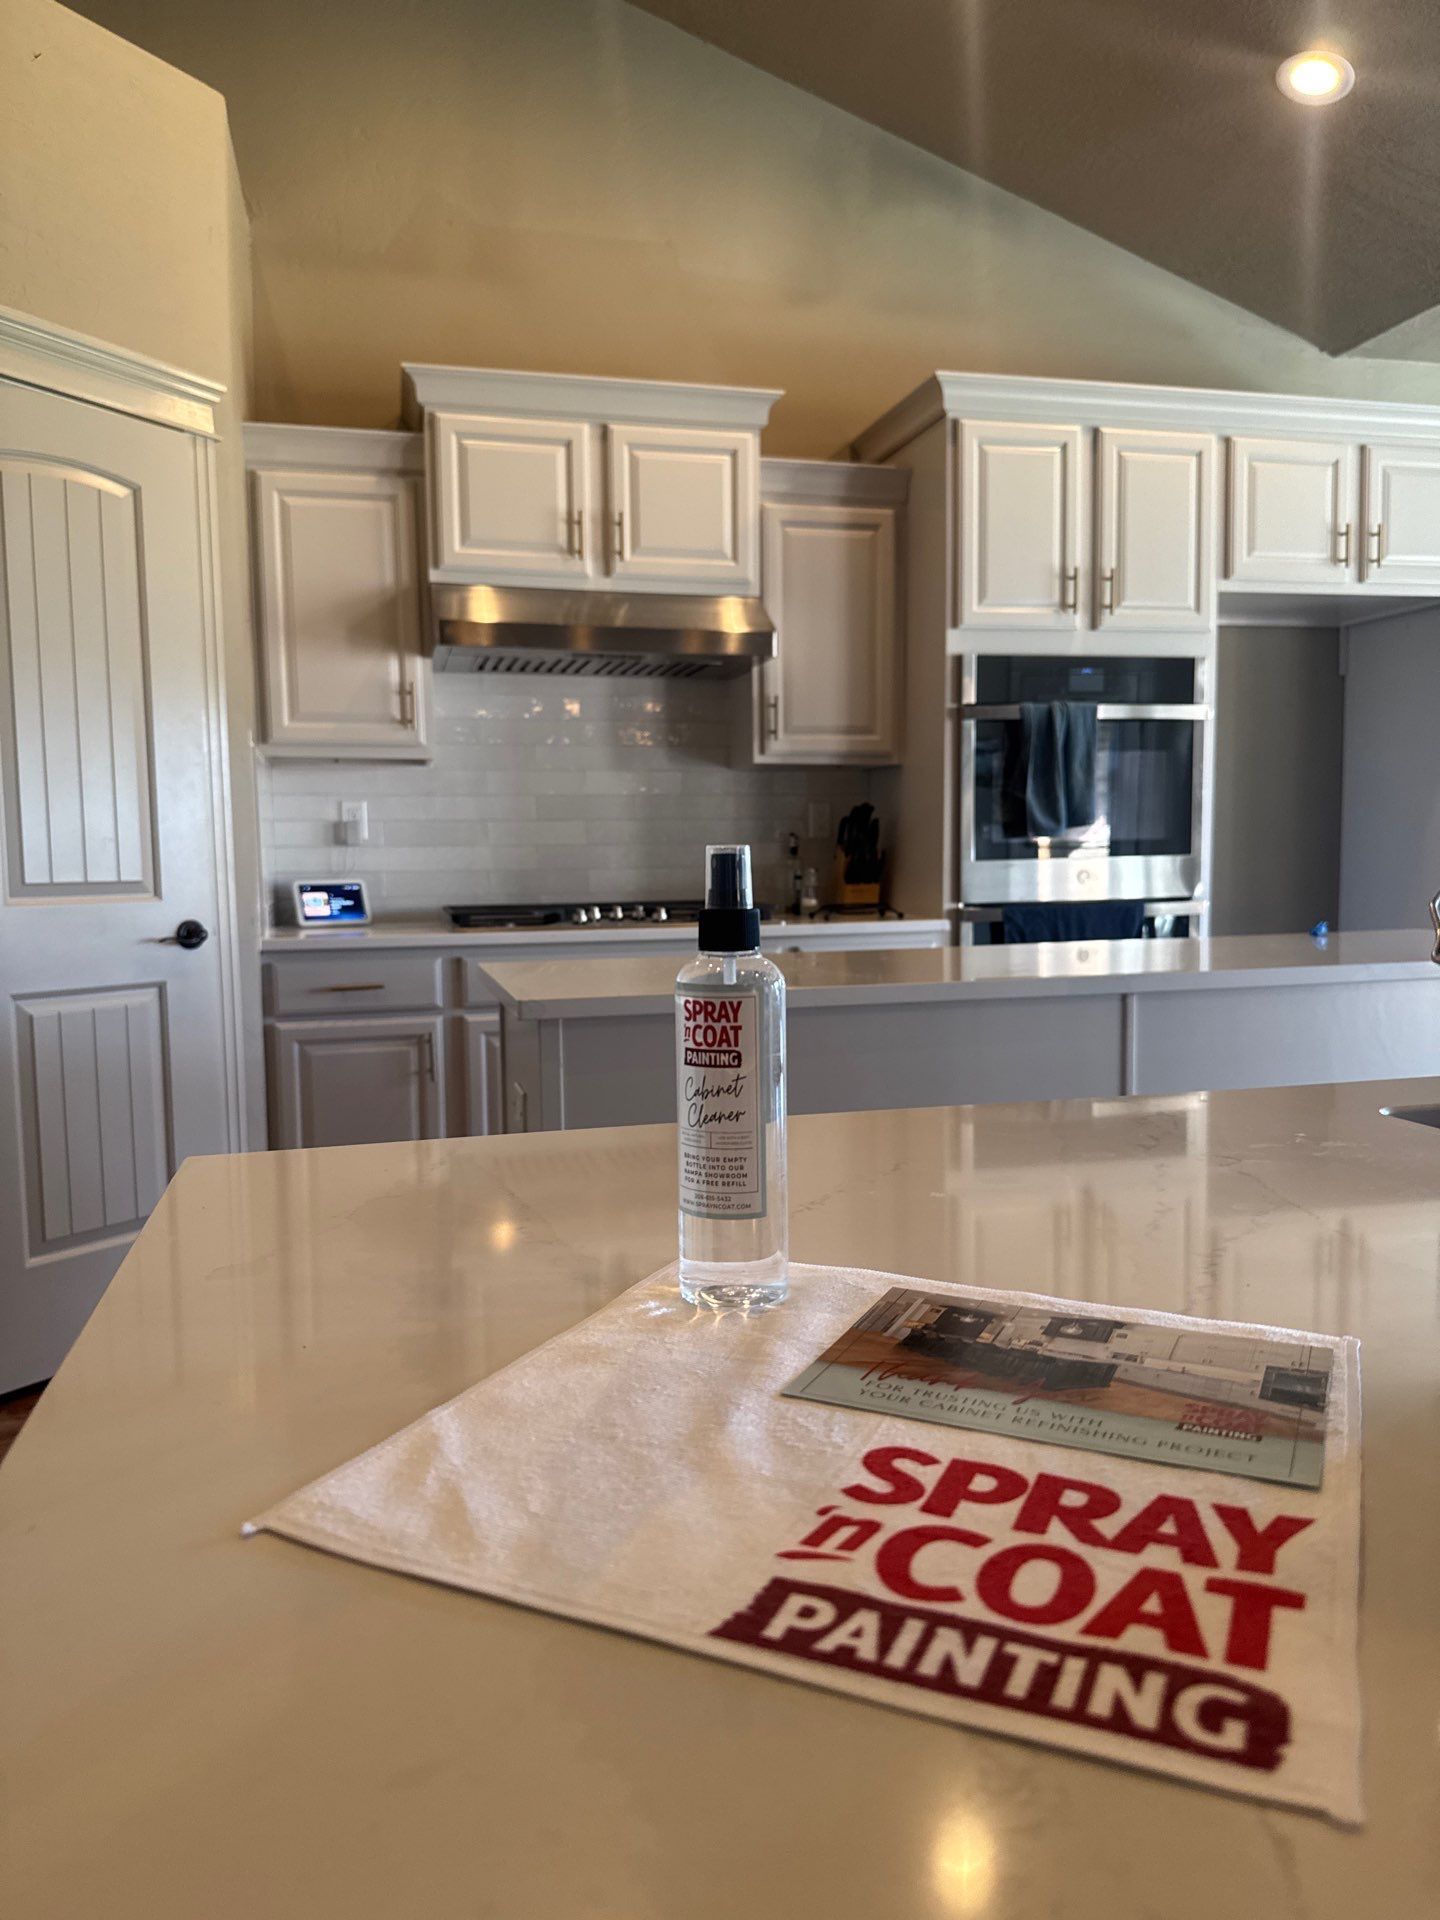
Kitchen interior with white cabinets and stainless appliances; spray paint can on a countertop beside a cloth.
September 18, 2026
For this Boise, Idaho cabinet painting project, the homeowners wanted to update several areas of their home while keeping the existing cabinetry and built-ins that were still in great condition. The original stained wood brought warmth to the home, but it no longer matched the lighter look they wanted. By refinishing everything in white, we were able to create a more consistent finish across the kitchen, bathroom, and built-in living room bookshelves. The Scope This project went beyond the kitchen. Our team refinished the wood-stained kitchen cabinets, bathroom cabinetry, and built-in bookshelves in the living room, taking each from its original stained finish to a clean white painted finish. With cabinetry and built-ins located throughout the home, consistency was an important part of the project. Each surface needed to have the same smooth finish and attention to detail so the different spaces felt connected without losing their individual character. The System Going from stained wood to white requires careful preparation, especially when working with cabinetry and detailed built-ins. Our process focused on creating proper adhesion, even coverage, and a durable finish that could hold up to everyday use. Detailed Masking & Protection: Floors, countertops, walls, appliances, fixtures, and surrounding areas were carefully covered and protected before work began. Surface Preparation: The existing stained wood was thoroughly cleaned, sanded, and prepared to create the right surface for the new coating system. Bonding Primer: A quality bonding primer was applied to seal and prepare the stained surfaces while creating strong adhesion for the new white finish. Professional Spray Finish: Cabinet doors, drawers, and applicable built-in components were professionally sprayed for a smooth, consistent appearance. Durable White Coating: A professional cabinet finish provided the clean white appearance the homeowners wanted along with the durability needed for frequently used cabinetry. Built-In Detail Work: The living room bookshelves required additional attention around shelving, edges, trim, and other architectural details to create a consistent finish from top to bottom. Final Reassembly & Inspection: Once everything was ready, doors, drawers, and hardware were carefully reinstalled and the completed surfaces were inspected for consistency and detail. The Impact Taking the cabinetry and built-ins from stained wood to white made a significant difference throughout this Boise home. Instead of updating only one room, the homeowners were able to carry the new finish through the kitchen, bathroom, and living room for a more cohesive look. The built-in bookshelves were an especially important part of the project. Rather than standing out as a large stained-wood feature, the new white finish helped the built-ins work naturally with the rest of the living space while keeping the storage, craftsmanship, and character they already provided. This project is also a great example of how professional cabinet painting can extend beyond kitchen cabinets. Bathroom vanities, built-in bookshelves, entertainment centers, and other existing woodwork can often be refinished alongside kitchen cabinetry to create a consistent look throughout the home. If you have stained cabinets or built-ins that are still in great condition but no longer match your style, Spray 'n Coat Painting provides professional cabinet painting and refinishing in Boise, Meridian, Nampa, Eagle, Star, and throughout the Treasure Valley. Contact our team or fill out our request form to schedule a free on-site estimate.
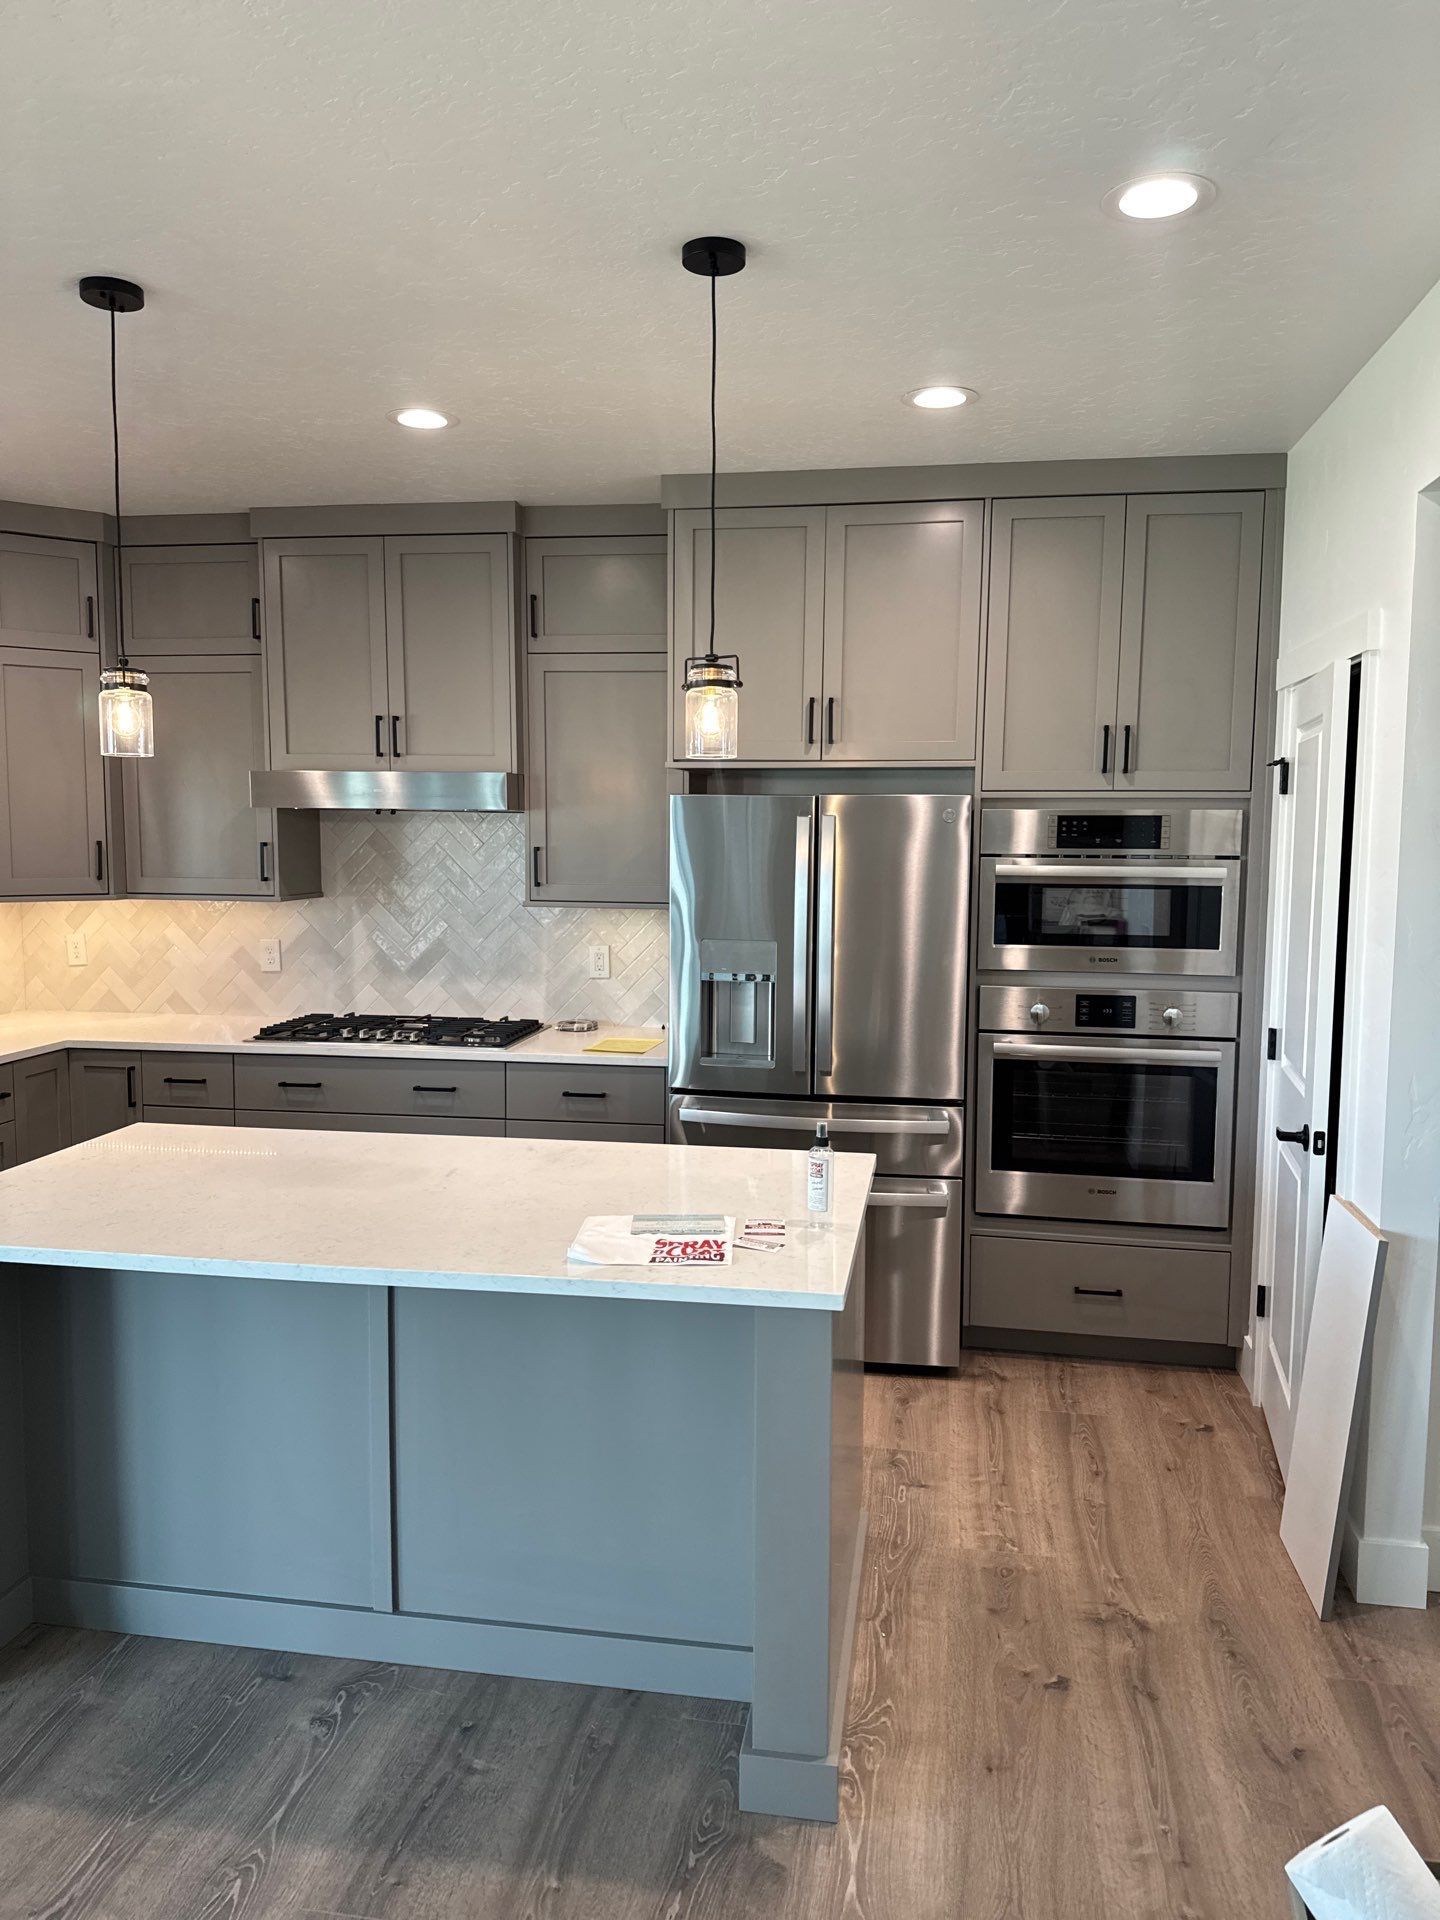
Modern kitchen with gray cabinets, blue island, stainless steel appliances, and wood floor
September 18, 2026
A kitchen can have beautiful, well-built cabinets and still feel like it doesn’t quite fit the home anymore. For this Meridian, Idaho cabinet painting project , the homeowners wanted to move away from the existing stained wood and bring a cleaner, more updated look into their home. Instead of replacing cabinetry that was still in great condition, they chose to have both their kitchen and bathroom cabinets professionally refinished in gray . The new gray finish provided a noticeable update while still working naturally with the existing features and finishes throughout the home. The Scope This project included refinishing the existing wood-stained kitchen and bathroom cabinets , taking them from their original warm wood tones to a smooth gray painted finish. Because we were making a significant color and finish change, consistency was important. The cabinet boxes, doors, drawers, trim, and detailed areas all needed to have the same smooth appearance so the finished cabinets looked cohesive throughout both spaces. The System Taking stained wood cabinets to a painted gray finish requires more than simply covering the existing color. Our cabinet refinishing process focused heavily on preparation and creating a durable finish designed for everyday use. Masking & Protection: Countertops, floors, walls, appliances, fixtures, and surrounding areas were carefully protected before the refinishing process began. Surface Preparation: The existing stained cabinet surfaces were cleaned, sanded, and properly prepared to create a strong foundation for the new coating. Bonding Primer: A bonding primer was applied to help seal the existing stained finish and provide proper adhesion for the new gray coating. Professional Spray Application: Cabinet doors and drawers were sprayed to create a smooth, consistent appearance and the clean finish expected from professionally refinished cabinetry. Durable Gray Finish: The cabinets received a professional-grade finish designed to stand up to the regular cleaning, moisture, and everyday use that kitchen and bathroom cabinets experience. Detailed Reassembly: Once the finish was ready, the doors, drawers, and hardware were carefully reinstalled and the cabinetry was inspected for consistency throughout the kitchen and bathrooms. The Impact The change from stained wood to gray painted cabinets gave the kitchen and bathrooms an entirely different feel without changing the cabinetry itself. The gray brought a more current look to each space while allowing the homeowners to keep the existing cabinet layout and construction they already had. Carrying the same updated finish into both the kitchen and bathrooms also helped create a more consistent look throughout the home. Rather than taking on the cost and disruption of replacing perfectly functional cabinets, refinishing allowed the homeowners to make a significant design change by working with what was already there. This Meridian cabinet painting and refinishing project is a great example of how the right cabinet color can update a home without requiring a full remodel. If your stained wood cabinets are in good condition but the color no longer fits your home or design preferences, Spray 'n Coat Painting provides professional cabinet painting and refinishing in Meridian, Boise, Nampa, Eagle, Star, and throughout the Treasure Valley . Contact our team or fill out our request form to schedule a free on-site estimate.
September 4, 2026
Spray ’n Coat Painting now has an office in Boise, strengthening our local presence while continuing to serve homeowners and businesses across the Treasure Valley.
July 6, 2026
Tire marks on a garage floor coating do not always mean the coating failed. Learn what causes staining, which tires are more likely to leave marks, and how to clean them.
July 6, 2026
DIY cabinet painting can look good at first, but prep, products, and application affect how long it lasts. Learn why professional cabinet painting often holds up better.
July 6, 2026
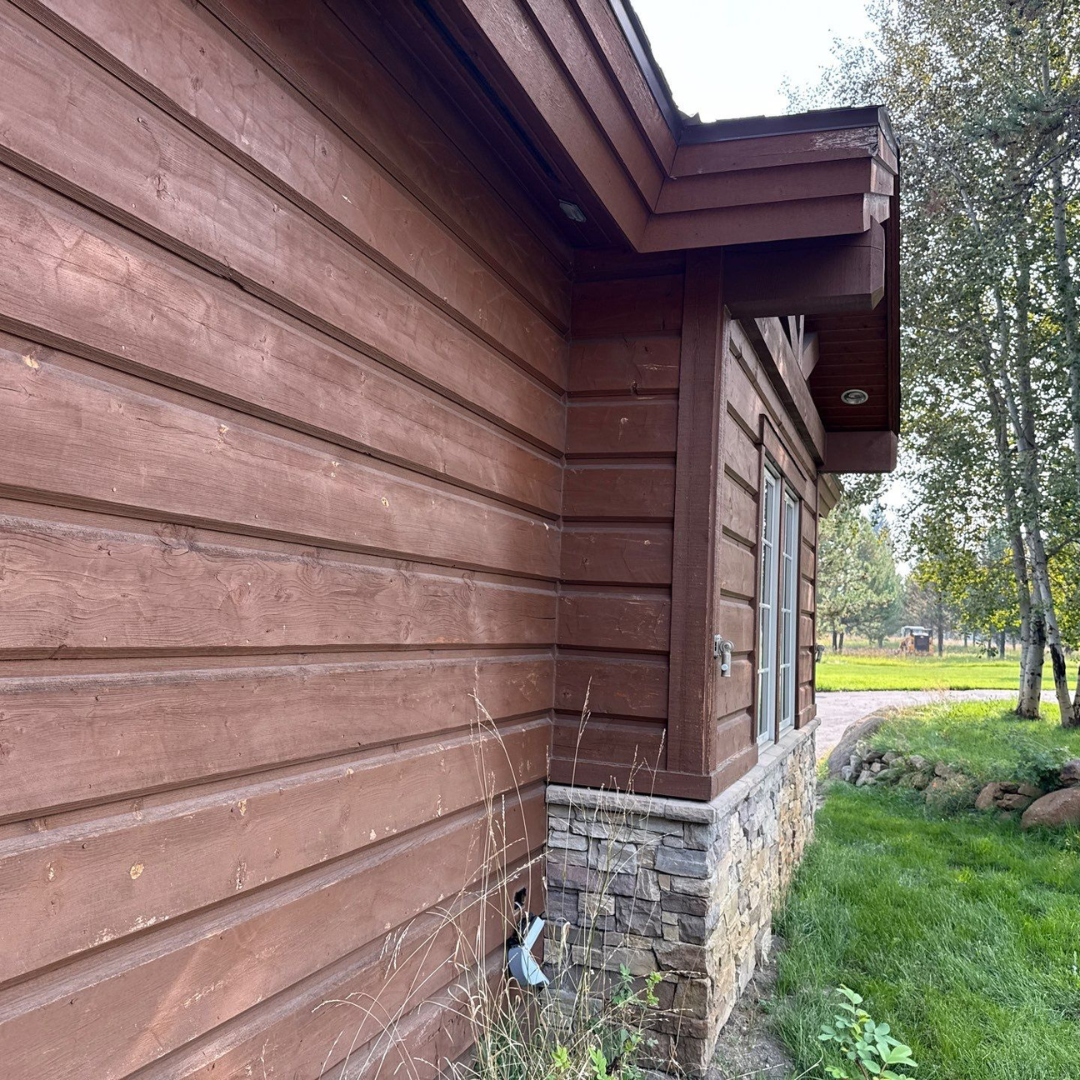
Exterior wood stain fades from sun, moisture, and weather exposure. Learn why Boise-area wood surfaces fade and when restaining may be needed.
June 29, 2026
Chalky exterior paint is often a sign that the coating is breaking down from sun, weather, and age. Learn what it means for Boise-area homes.
More Posts