Can You Paint Over Wallpaper?

Last Updated: June 22, 2026

Painting over wallpaper is one of those home improvement shortcuts that sounds simple at first. If the wallpaper is outdated but still firmly attached, it is natural to wonder whether you can skip removal and just paint over it. In some cases, the answer is yes, but that does not mean it is always the best choice.


Painting over wallpaper can work when the wallpaper is smooth, secure, and properly prepared. If the wallpaper is peeling, bubbling, heavily textured, damaged by moisture, or poorly attached to the wall, removing it first is usually the better long-term option. The right decision depends on the condition of the wallpaper and what kind of finished result you expect.


Why Homeowners Want to Paint Over Wallpaper

Most homeowners ask about painting over wallpaper because they want to avoid the mess, time, and possible wall repairs that can come with removal. That is understandable. Wallpaper removal can be frustrating, especially in older homes where the paper has been in place for years.


If wallpaper was installed over unprimed drywall, the drywall paper may tear during removal. If there are multiple wallpaper layers, the project can become even more complicated. Some older homes in Boise, Meridian, Nampa, and throughout the Treasure Valley may also have wallpaper that has already been painted over or patched during past remodels.


Homeowners often want to paint over wallpaper to freshen up a room, cover an outdated pattern, save time, or avoid damaging the wall underneath. Those are reasonable goals, but the important question is whether painting over the wallpaper will actually give you the result you want.


When Painting Over Wallpaper Can Work

Painting over wallpaper is most likely to work when the wallpaper is in excellent condition. The surface should be smooth, dry, flat, and firmly attached to the wall. The seams should be tight, and there should not be peeling, bubbling, moisture damage, or heavy texture.


If the wallpaper has been stable for years and shows no signs of lifting, it may be a good candidate for painting. In those situations, proper cleaning, seam repair, priming, and painting can sometimes create a clean, updated look without full removal.


The key word is stable. Paint will not fix wallpaper that is already failing. If the paper is lifting now, it will likely keep lifting later, even with new paint on top. A fresh coat may hide the issue for a while, but it will not solve the problem underneath.


When Removing Wallpaper Is the Better Choice

Wallpaper removal is usually the better option when the existing wallpaper is loose, damaged, heavily textured, or affected by moisture. These problems often show through the new paint or cause the finish to fail sooner than expected.


Removal may be the better choice if:


  • the wallpaper is peeling or bubbling
  • the seams are loose or curling
  • the room has moisture or humidity issues
  • the wallpaper has a heavy texture or raised pattern
  • there are multiple wallpaper layers
  • you want the wall to look like smooth painted drywall


This does not mean removal is always easy. It may lead to drywall repair, skim coating, or texture work. But if the goal is the cleanest and longest-lasting result, removing unstable wallpaper first is often the smarter path.


Wallpaper Seams Are Usually the Biggest Concern

Even when wallpaper is in good condition, seams can still be an issue. Once painted, seam lines may become more noticeable, especially in certain lighting. This does not always mean the job was done poorly. It simply means wallpaper seams rarely disappear completely.


This is where expectations matter. Some homeowners are comfortable with a few subtle seam lines if it means avoiding the cost and mess of removal. Others expect the finished wall to look like brand-new drywall. If that is the goal, painting over wallpaper may not deliver the result they have in mind.


A good painter should explain this upfront. The question is not only whether wallpaper can be painted, but whether the finished wall will look the way you expect it to look.


Vinyl and Textured Wallpaper Can Be Tricky

Vinyl wallpaper is often harder to paint than traditional paper wallpaper. Many vinyl surfaces are slick, which can make it difficult for paint to bond properly without the right prep and primer. Even then, there may still be some risk depending on the wallpaper and room conditions.


Textured wallpaper creates a different issue. Paint does not flatten texture. If the wallpaper has a raised pattern, that pattern will usually still show after painting. In some cases, it may become even more noticeable once the wall is one solid color.


This is one of the main reasons an in-person evaluation helps. The type of wallpaper matters just as much as the condition of the wallpaper.


Prep Work Matters More Than the Paint

The success of painting over wallpaper depends heavily on prep work. Skipping prep is one of the biggest reasons painted wallpaper fails or looks rough after the project is done.


Before painting, the wallpaper should be cleaned, loose seams should be repaired, damaged areas should be addressed, and the surface may need light sanding depending on the material. Primer is especially important because it helps seal the surface, improves adhesion, and reduces the chance of stains or adhesive bleeding through the paint.


This is not a project where paint alone solves the problem. If the wall is not prepared correctly, the finish may peel, bubble, or look uneven no matter how good the paint is.


Bathrooms and Laundry Rooms Are Higher-Risk Areas

Painting over wallpaper is usually riskier in bathrooms, laundry rooms, and other humid spaces. Moisture can weaken wallpaper adhesive over time, which increases the chance of bubbling, peeling, or separation after the wall is painted.


A bathroom may look fine right after painting, but humidity can create problems later. That does not mean wallpaper can never be painted in a moisture-prone room, but it does mean the decision should be made carefully. If the wallpaper is already loose or the room has ongoing moisture issues, removal is often the safer recommendation.


Older Homes May Need a Closer Look

Older homes can be unpredictable when it comes to wallpaper. There may be multiple layers, old adhesive, unprimed drywall, previous paint over wallpaper, or patchwork from past projects. Once work begins, the wall may reveal issues that were not obvious during a quick look.


That is why older homes in Boise and the Treasure Valley often need a more careful walkthrough before deciding. Sometimes painting over wallpaper is reasonable. Other times, removal and repair are the better long-term investment. The best answer depends on what is actually happening on the wall, not just the age of the wallpaper.
The Right Cleaning Method Depends on the Surface

Some homes can handle more pressure than others, but many exterior surfaces are better cleaned with a controlled or lower-pressure approach. The right method depends on the material, age of the paint, amount of buildup, and whether there are signs of damage.


In some cases, soft washing or lower-pressure cleaning may be a better fit than traditional high-pressure washing. In other cases, a careful pressure wash may be appropriate as part of exterior paint preparation. The point is that the method should be chosen for the home, not applied the same way every time.


Safe Washing Starts with Understanding the Home’s Condition

Before washing begins, it helps to look at the siding, paint, trim, caulking, and problem areas. If the exterior is in good shape, washing may simply remove buildup and refresh the surface. If there are signs of peeling, soft wood, cracked caulking, or loose siding, those areas need extra care.


This is especially important before repainting. Cleaning is part of exterior prep, but it should be done in a way that supports the next steps. Once the surface is clean, it is easier to identify what needs repair, scraping, sanding, caulking, or priming.


Signs You Should Be Careful Before Power Washing

Homeowners should be cautious if the exterior already shows signs of wear. A few warning signs include:

  • peeling, bubbling, or flaking paint
  • cracked or missing caulking
  • soft or damaged wood
  • siding that is loose or warped
  • gaps around windows, doors, or trim
  • chalky paint that rubs off easily


These signs do not always mean the home cannot be washed. They simply mean the washing should be handled carefully and may need to be paired with repairs or painting.


A Careful Approach Helps Protect Siding and Paint

Power washing can be a helpful part of exterior maintenance when it is done with the right pressure, technique, and understanding of the surface. It can remove buildup, improve appearance, and prepare the home for exterior painting. The risk comes from using too much force or treating every surface the same.


Spray ’n Coat Painting helps Boise, Nampa, Meridian, and Treasure Valley homeowners evaluate exterior surfaces before washing, prep, or painting begins. If you are unsure whether power washing is safe for your siding or exterior paint, request an exterior evaluation or painting estimate to get clear guidance before damage happens.
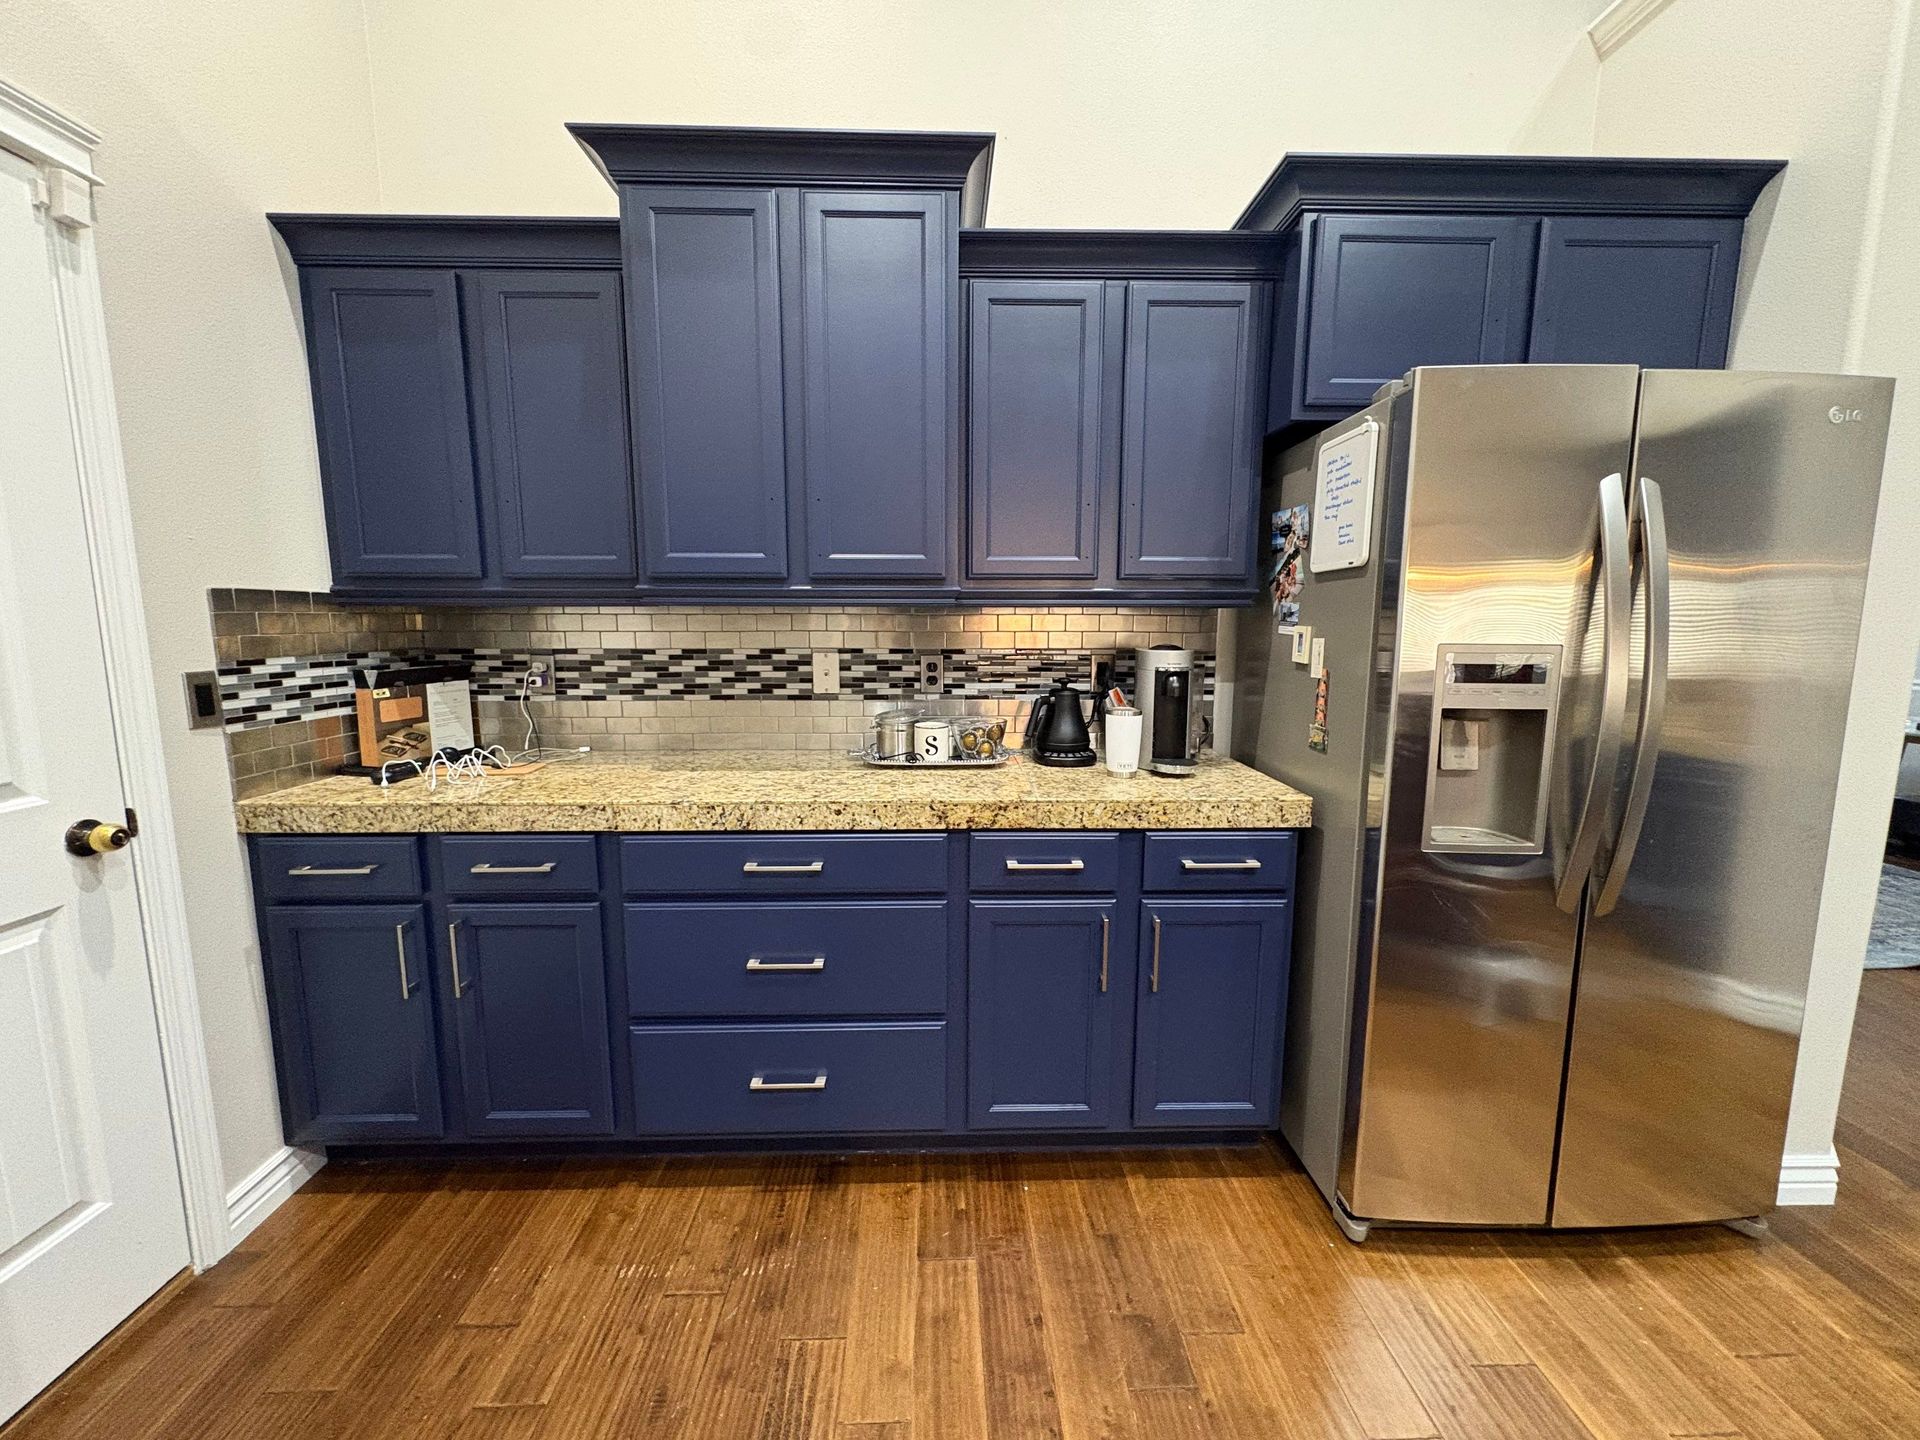
Modern kitchen with navy cabinets, beige countertop, and stainless steel refrigerator on wood floor
September 18, 2026
For this Meridian, Idaho cabinet painting project , the homeowners were ready for a change from their existing black cabinetry. Rather than replacing cabinets that were still in great condition, they chose a new blue painted finish that added more color and personality to the space while keeping the existing cabinet layout and functionality. The Scope The goal of this project was straightforward: take the existing black painted cabinets and refinish them in blue . While going from one painted finish to another may seem simple, achieving a smooth, durable result still requires the right preparation and coating system. Our team worked through the cabinetry carefully, making sure the doors, drawers, cabinet boxes, trim, and detailed areas received a consistent finish. The System A lasting cabinet finish starts well before the final color goes on. Our process focused on preparing the existing black finish correctly and creating a smooth foundation for the new blue color.  Masking & Protection: Surrounding floors, countertops, walls, appliances, and other surfaces were carefully protected before work began. Cleaning & Surface Preparation: The existing cabinets were cleaned and prepared to remove contaminants and create the proper surface for adhesion. Sanding & Detail Prep: Cabinet surfaces were sanded and detailed as needed to address imperfections and prepare the existing coating for the new finish. Primer: The cabinets were properly primed to create a consistent base and help with the transition from the darker black finish to blue. Professional Spray Finish: Doors, drawers, and applicable cabinet components were sprayed to achieve a smooth, even appearance. Durable Blue Coating: A professional cabinet coating provided the homeowners with their new blue color while giving the cabinetry the durability needed for everyday use. Reassembly & Final Details: Once the finish was ready, the cabinetry was carefully reassembled and inspected for consistency. The Impact Changing the cabinets from black to blue gave the space a completely different look without requiring a full cabinet replacement. The black cabinetry had created a much darker appearance, while the new blue introduced color and character while still providing a strong design element in the room. Projects like this are also a good reminder that cabinet painting isn't limited to updating stained wood or going from dark cabinets to white. Sometimes the cabinets are already painted and homeowners simply want a color that better fits their current style. If your existing cabinet color no longer feels right for your home, professional refinishing can give you the opportunity to choose something completely different while keeping cabinetry that's still in good condition. Spray 'n Coat Painting provides professional cabinet painting and refinishing in Meridian, Boise, Nampa, Eagle, Star, and throughout the Treasure Valley . Contact our team or fill out our request form to schedule a free on-site estimate.
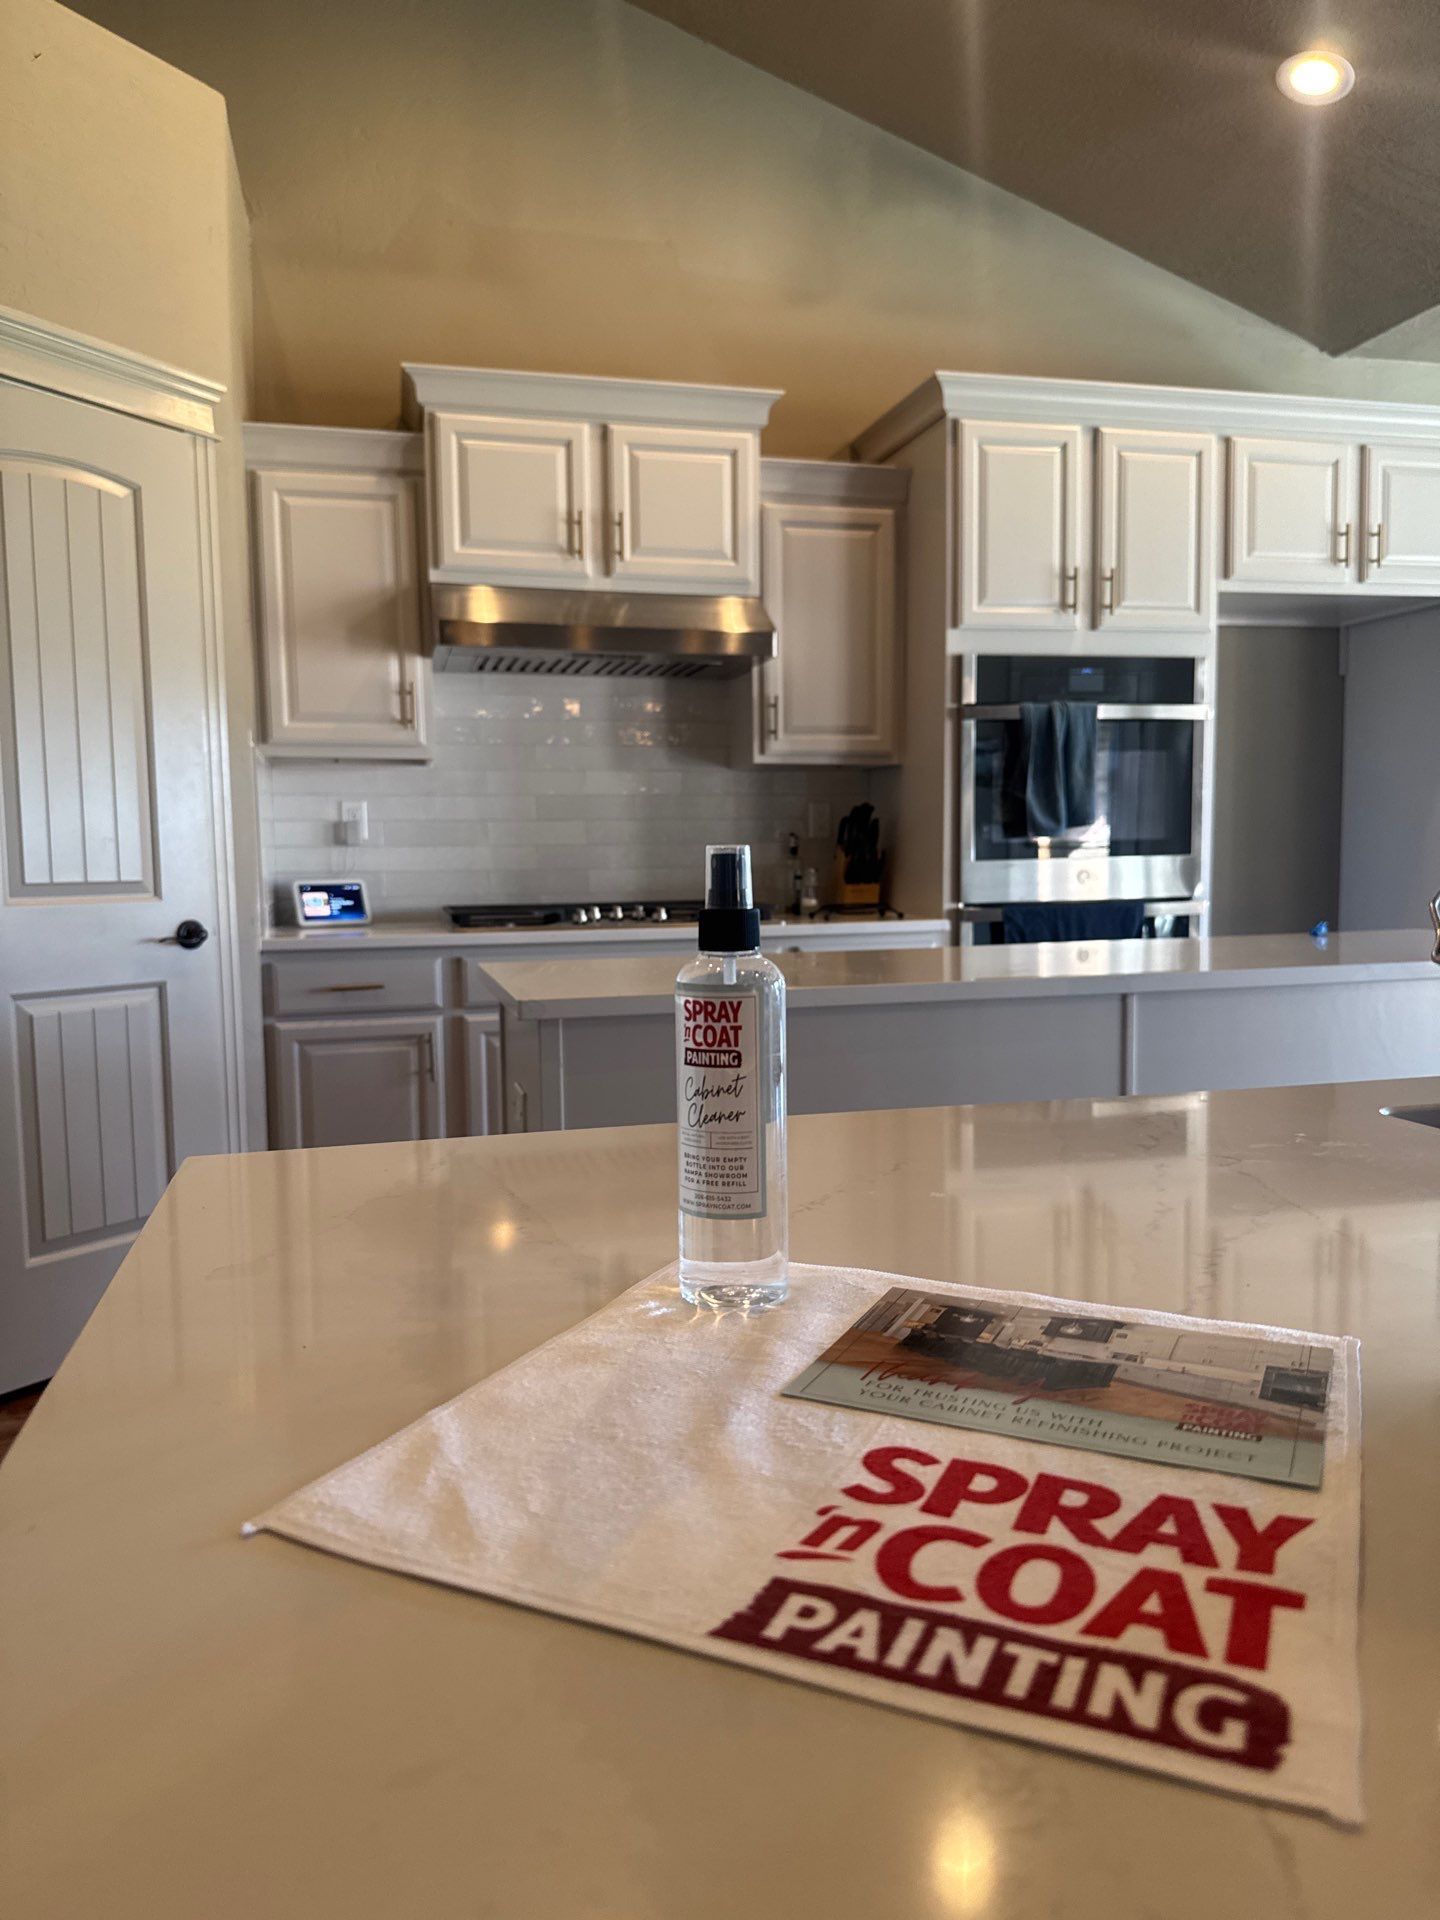
Kitchen interior with white cabinets and stainless appliances; spray paint can on a countertop beside a cloth.
September 18, 2026
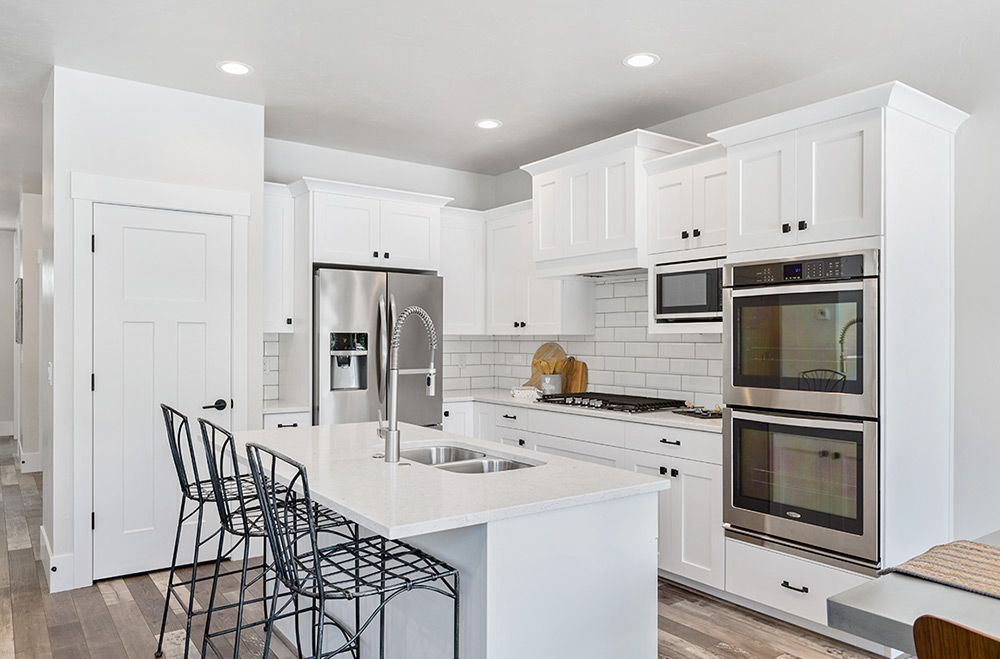
For this Boise, Idaho cabinet painting project, the homeowners wanted to update several areas of their home while keeping the existing cabinetry and built-ins that were still in great condition. The original stained wood brought warmth to the home, but it no longer matched the lighter look they wanted. By refinishing everything in white, we were able to create a more consistent finish across the kitchen, bathroom, and built-in living room bookshelves. The Scope This project went beyond the kitchen. Our team refinished the wood-stained kitchen cabinets, bathroom cabinetry, and built-in bookshelves in the living room, taking each from its original stained finish to a clean white painted finish. With cabinetry and built-ins located throughout the home, consistency was an important part of the project. Each surface needed to have the same smooth finish and attention to detail so the different spaces felt connected without losing their individual character. The System Going from stained wood to white requires careful preparation, especially when working with cabinetry and detailed built-ins. Our process focused on creating proper adhesion, even coverage, and a durable finish that could hold up to everyday use. Detailed Masking & Protection: Floors, countertops, walls, appliances, fixtures, and surrounding areas were carefully covered and protected before work began. Surface Preparation: The existing stained wood was thoroughly cleaned, sanded, and prepared to create the right surface for the new coating system. Bonding Primer: A quality bonding primer was applied to seal and prepare the stained surfaces while creating strong adhesion for the new white finish. Professional Spray Finish: Cabinet doors, drawers, and applicable built-in components were professionally sprayed for a smooth, consistent appearance. Durable White Coating: A professional cabinet finish provided the clean white appearance the homeowners wanted along with the durability needed for frequently used cabinetry. Built-In Detail Work: The living room bookshelves required additional attention around shelving, edges, trim, and other architectural details to create a consistent finish from top to bottom. Final Reassembly & Inspection: Once everything was ready, doors, drawers, and hardware were carefully reinstalled and the completed surfaces were inspected for consistency and detail. The Impact Taking the cabinetry and built-ins from stained wood to white made a significant difference throughout this Boise home. Instead of updating only one room, the homeowners were able to carry the new finish through the kitchen, bathroom, and living room for a more cohesive look. The built-in bookshelves were an especially important part of the project. Rather than standing out as a large stained-wood feature, the new white finish helped the built-ins work naturally with the rest of the living space while keeping the storage, craftsmanship, and character they already provided. This project is also a great example of how professional cabinet painting can extend beyond kitchen cabinets. Bathroom vanities, built-in bookshelves, entertainment centers, and other existing woodwork can often be refinished alongside kitchen cabinetry to create a consistent look throughout the home. If you have stained cabinets or built-ins that are still in great condition but no longer match your style, Spray 'n Coat Painting provides professional cabinet painting and refinishing in Boise, Meridian, Nampa, Eagle, Star, and throughout the Treasure Valley. Contact our team or fill out our request form to schedule a free on-site estimate.
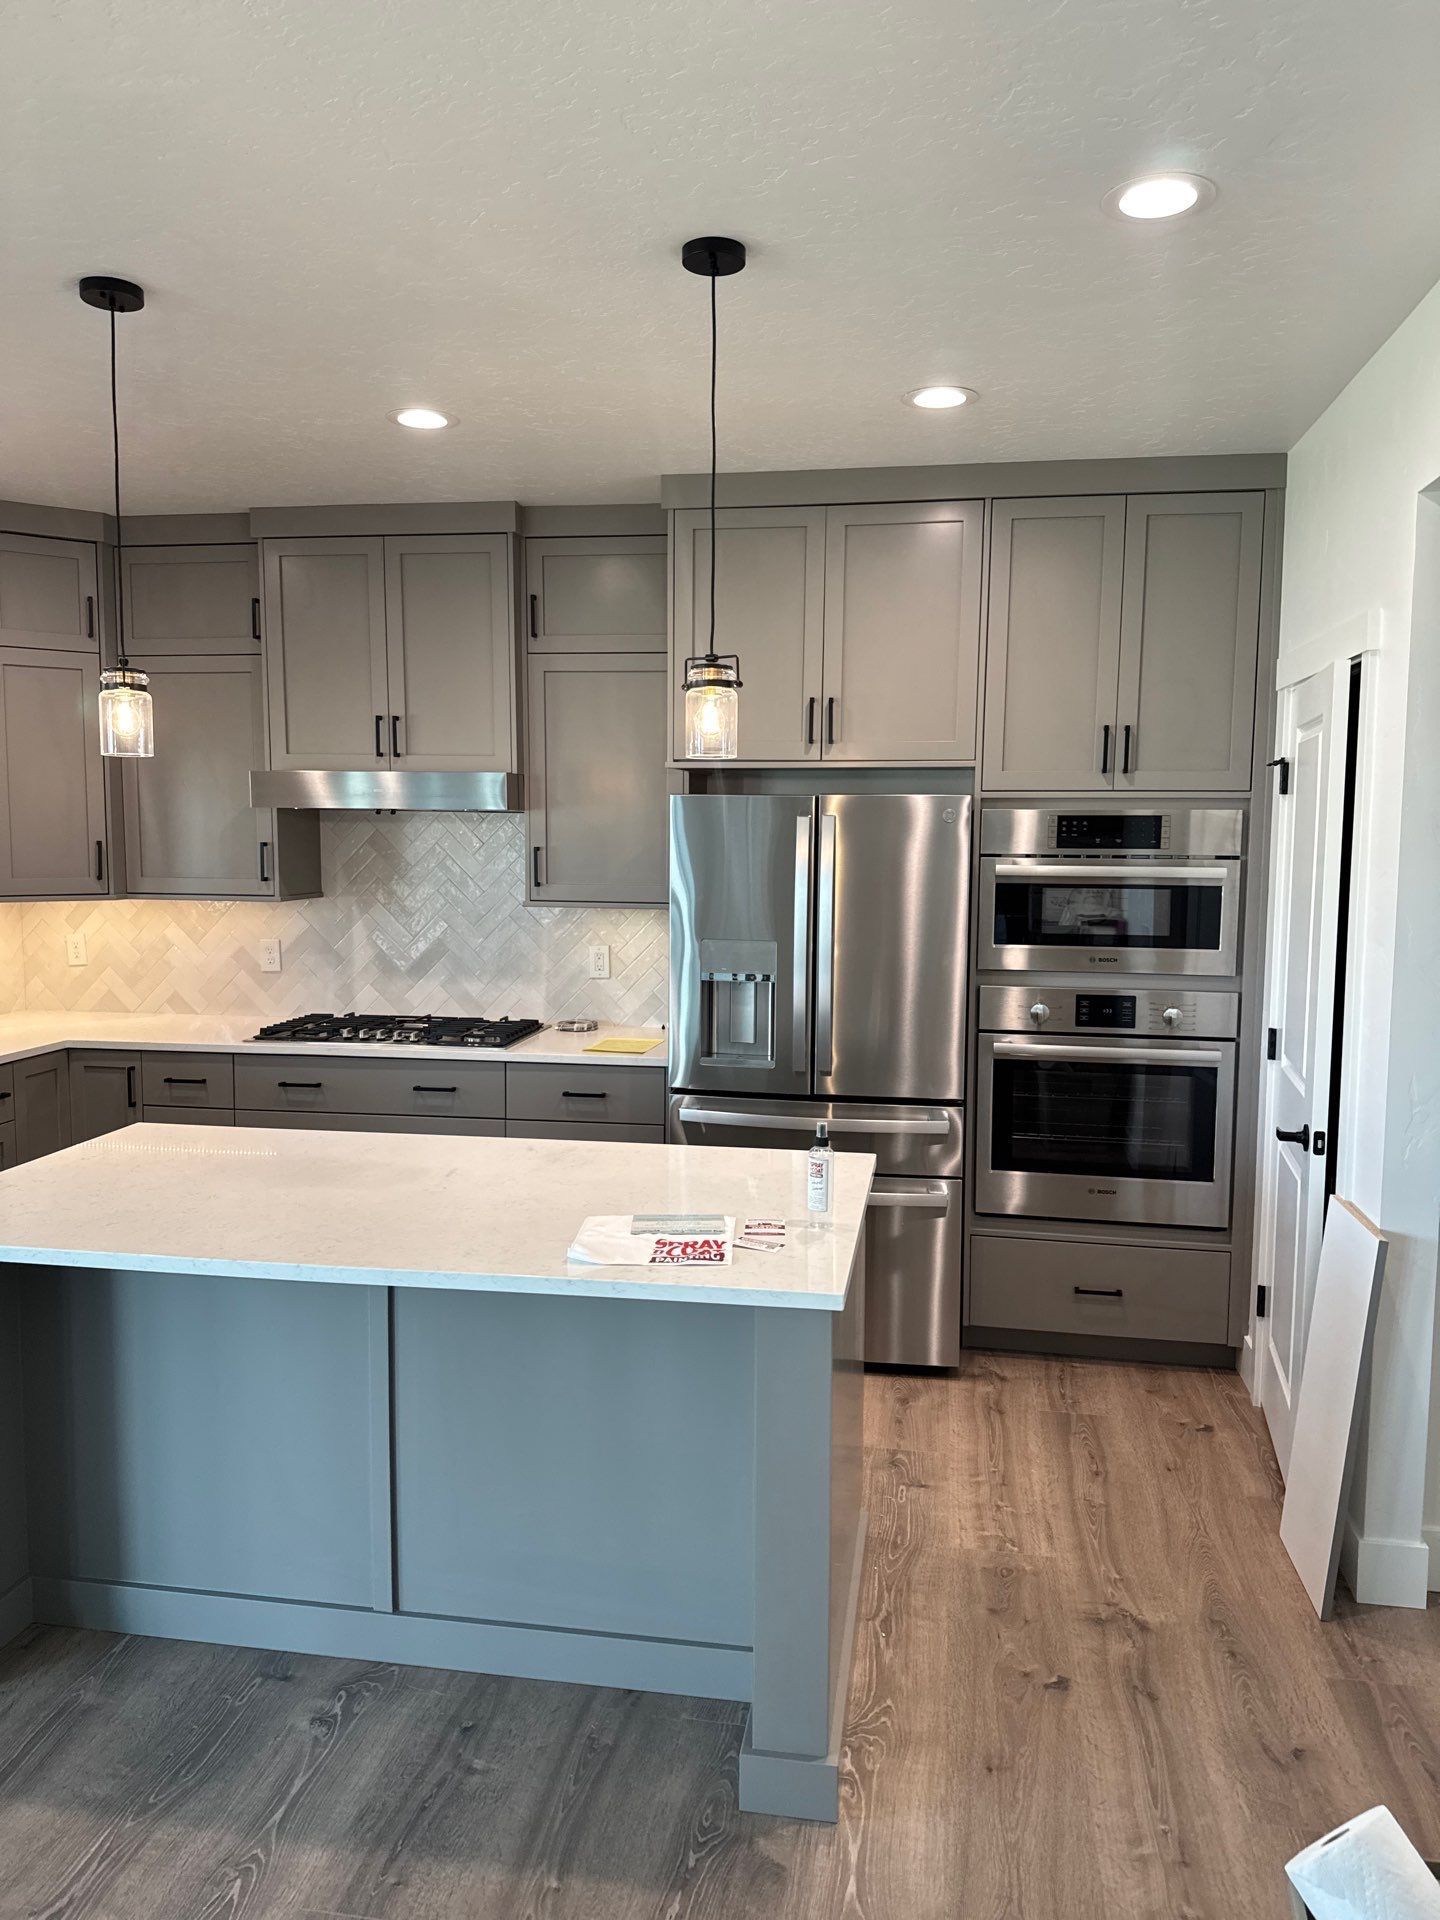
Modern kitchen with gray cabinets, blue island, stainless steel appliances, and wood floor
September 18, 2026
A kitchen can have beautiful, well-built cabinets and still feel like it doesn’t quite fit the home anymore. For this Meridian, Idaho cabinet painting project , the homeowners wanted to move away from the existing stained wood and bring a cleaner, more updated look into their home. Instead of replacing cabinetry that was still in great condition, they chose to have both their kitchen and bathroom cabinets professionally refinished in gray . The new gray finish provided a noticeable update while still working naturally with the existing features and finishes throughout the home. The Scope This project included refinishing the existing wood-stained kitchen and bathroom cabinets , taking them from their original warm wood tones to a smooth gray painted finish. Because we were making a significant color and finish change, consistency was important. The cabinet boxes, doors, drawers, trim, and detailed areas all needed to have the same smooth appearance so the finished cabinets looked cohesive throughout both spaces. The System Taking stained wood cabinets to a painted gray finish requires more than simply covering the existing color. Our cabinet refinishing process focused heavily on preparation and creating a durable finish designed for everyday use. Masking & Protection: Countertops, floors, walls, appliances, fixtures, and surrounding areas were carefully protected before the refinishing process began. Surface Preparation: The existing stained cabinet surfaces were cleaned, sanded, and properly prepared to create a strong foundation for the new coating. Bonding Primer: A bonding primer was applied to help seal the existing stained finish and provide proper adhesion for the new gray coating. Professional Spray Application: Cabinet doors and drawers were sprayed to create a smooth, consistent appearance and the clean finish expected from professionally refinished cabinetry. Durable Gray Finish: The cabinets received a professional-grade finish designed to stand up to the regular cleaning, moisture, and everyday use that kitchen and bathroom cabinets experience. Detailed Reassembly: Once the finish was ready, the doors, drawers, and hardware were carefully reinstalled and the cabinetry was inspected for consistency throughout the kitchen and bathrooms. The Impact The change from stained wood to gray painted cabinets gave the kitchen and bathrooms an entirely different feel without changing the cabinetry itself. The gray brought a more current look to each space while allowing the homeowners to keep the existing cabinet layout and construction they already had. Carrying the same updated finish into both the kitchen and bathrooms also helped create a more consistent look throughout the home. Rather than taking on the cost and disruption of replacing perfectly functional cabinets, refinishing allowed the homeowners to make a significant design change by working with what was already there. This Meridian cabinet painting and refinishing project is a great example of how the right cabinet color can update a home without requiring a full remodel. If your stained wood cabinets are in good condition but the color no longer fits your home or design preferences, Spray 'n Coat Painting provides professional cabinet painting and refinishing in Meridian, Boise, Nampa, Eagle, Star, and throughout the Treasure Valley . Contact our team or fill out our request form to schedule a free on-site estimate.
September 4, 2026
Spray ’n Coat Painting now has an office in Boise, strengthening our local presence while continuing to serve homeowners and businesses across the Treasure Valley.
July 6, 2026
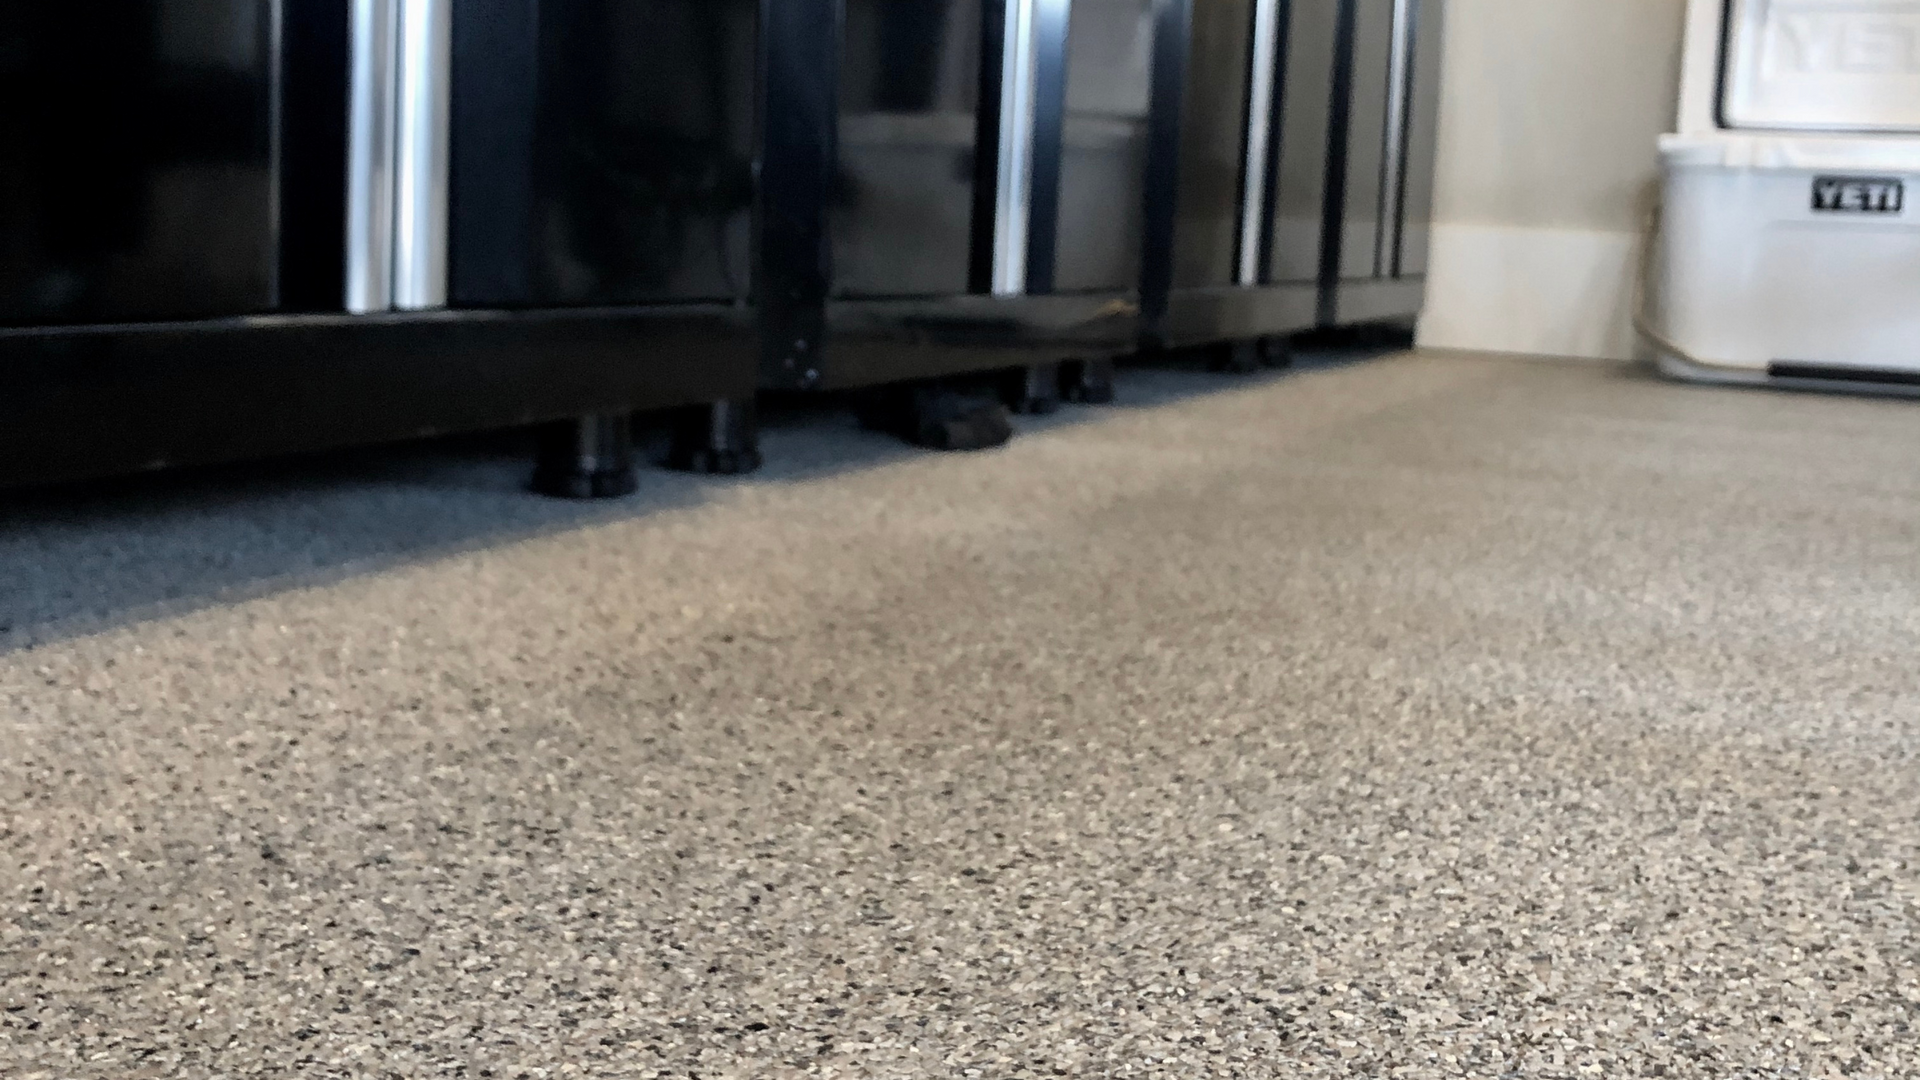
Tire marks on a garage floor coating do not always mean the coating failed. Learn what causes staining, which tires are more likely to leave marks, and how to clean them.
July 6, 2026
DIY cabinet painting can look good at first, but prep, products, and application affect how long it lasts. Learn why professional cabinet painting often holds up better.
July 6, 2026
Exterior wood stain fades from sun, moisture, and weather exposure. Learn why Boise-area wood surfaces fade and when restaining may be needed.
June 29, 2026
Chalky exterior paint is often a sign that the coating is breaking down from sun, weather, and age. Learn what it means for Boise-area homes.
June 29, 2026
Cracked exterior caulking can let moisture behind windows, trim, and siding. Learn why caulking fails and what Boise homeowners should watch for.
June 22, 2026
One side of a home can fade faster because of sun, heat, wind, and weather exposure. Learn why Boise homes often show uneven exterior paint wear.
More Posts