How to Overcome the Biggest Challenges in Commercial Interior Painting
Last Updated: March 6, 2025
The body content of your post goes here. To edit this text, click on it and delete this default text and start typing your own or paste your own from a different source.
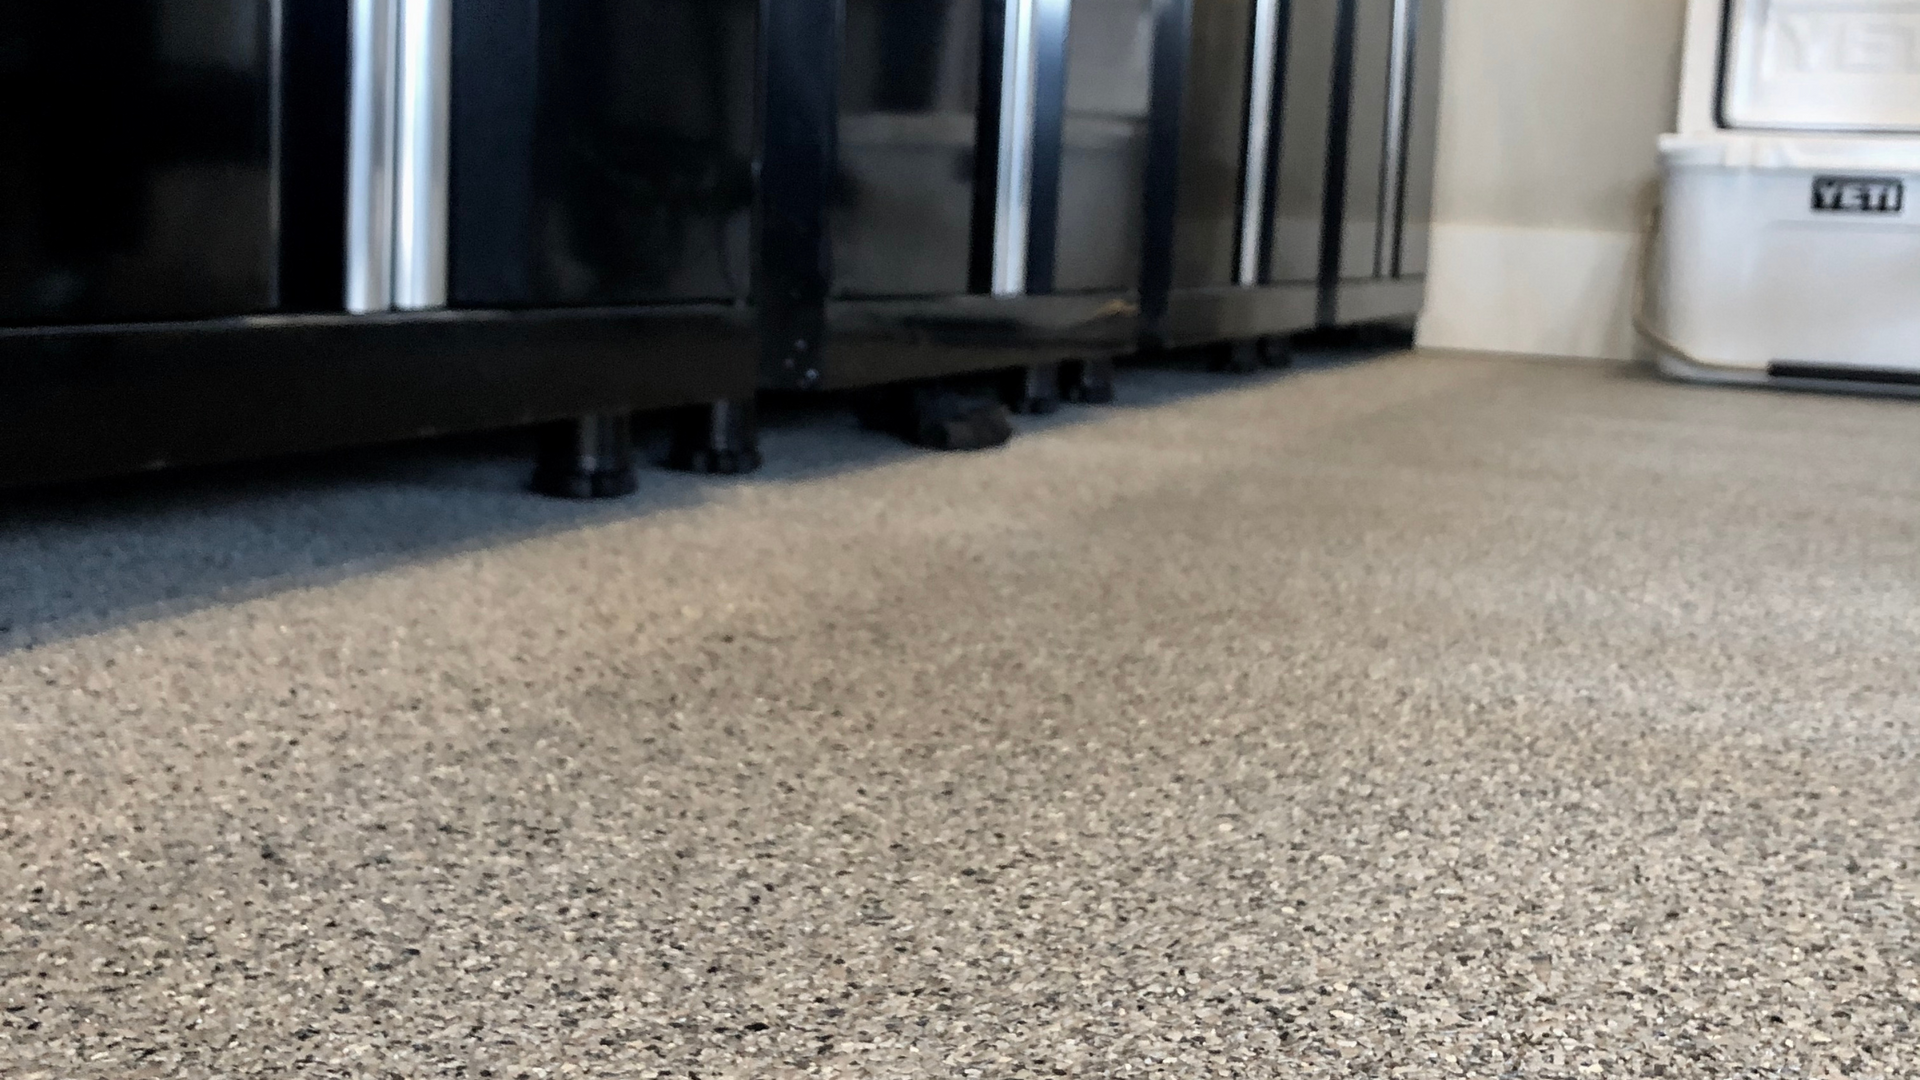
Tire marks on a garage floor coating do not always mean the coating failed. Learn what causes staining, which tires are more likely to leave marks, and how to clean them.

DIY cabinet painting can look good at first, but prep, products, and application affect how long it lasts. Learn why professional cabinet painting often holds up better.

Exterior wood stain fades from sun, moisture, and weather exposure. Learn why Boise-area wood surfaces fade and when restaining may be needed.
Chalky exterior paint is often a sign that the coating is breaking down from sun, weather, and age. Learn what it means for Boise-area homes.

Cracked exterior caulking can let moisture behind windows, trim, and siding. Learn why caulking fails and what Boise homeowners should watch for.
One side of a home can fade faster because of sun, heat, wind, and weather exposure. Learn why Boise homes often show uneven exterior paint wear.
Fading, peeling, chalking, and cracked caulking can all be signs your home needs repainting. Learn what Boise homeowners should watch for.
Painting kitchen cabinets can make a kitchen feel cleaner, newer, and more appealing to buyers. Learn when cabinet painting is worth it before selling.
Painting over wallpaper can work in some homes, but it depends on the condition of the seams, surface, and room. Learn when it makes sense and when removal is better.
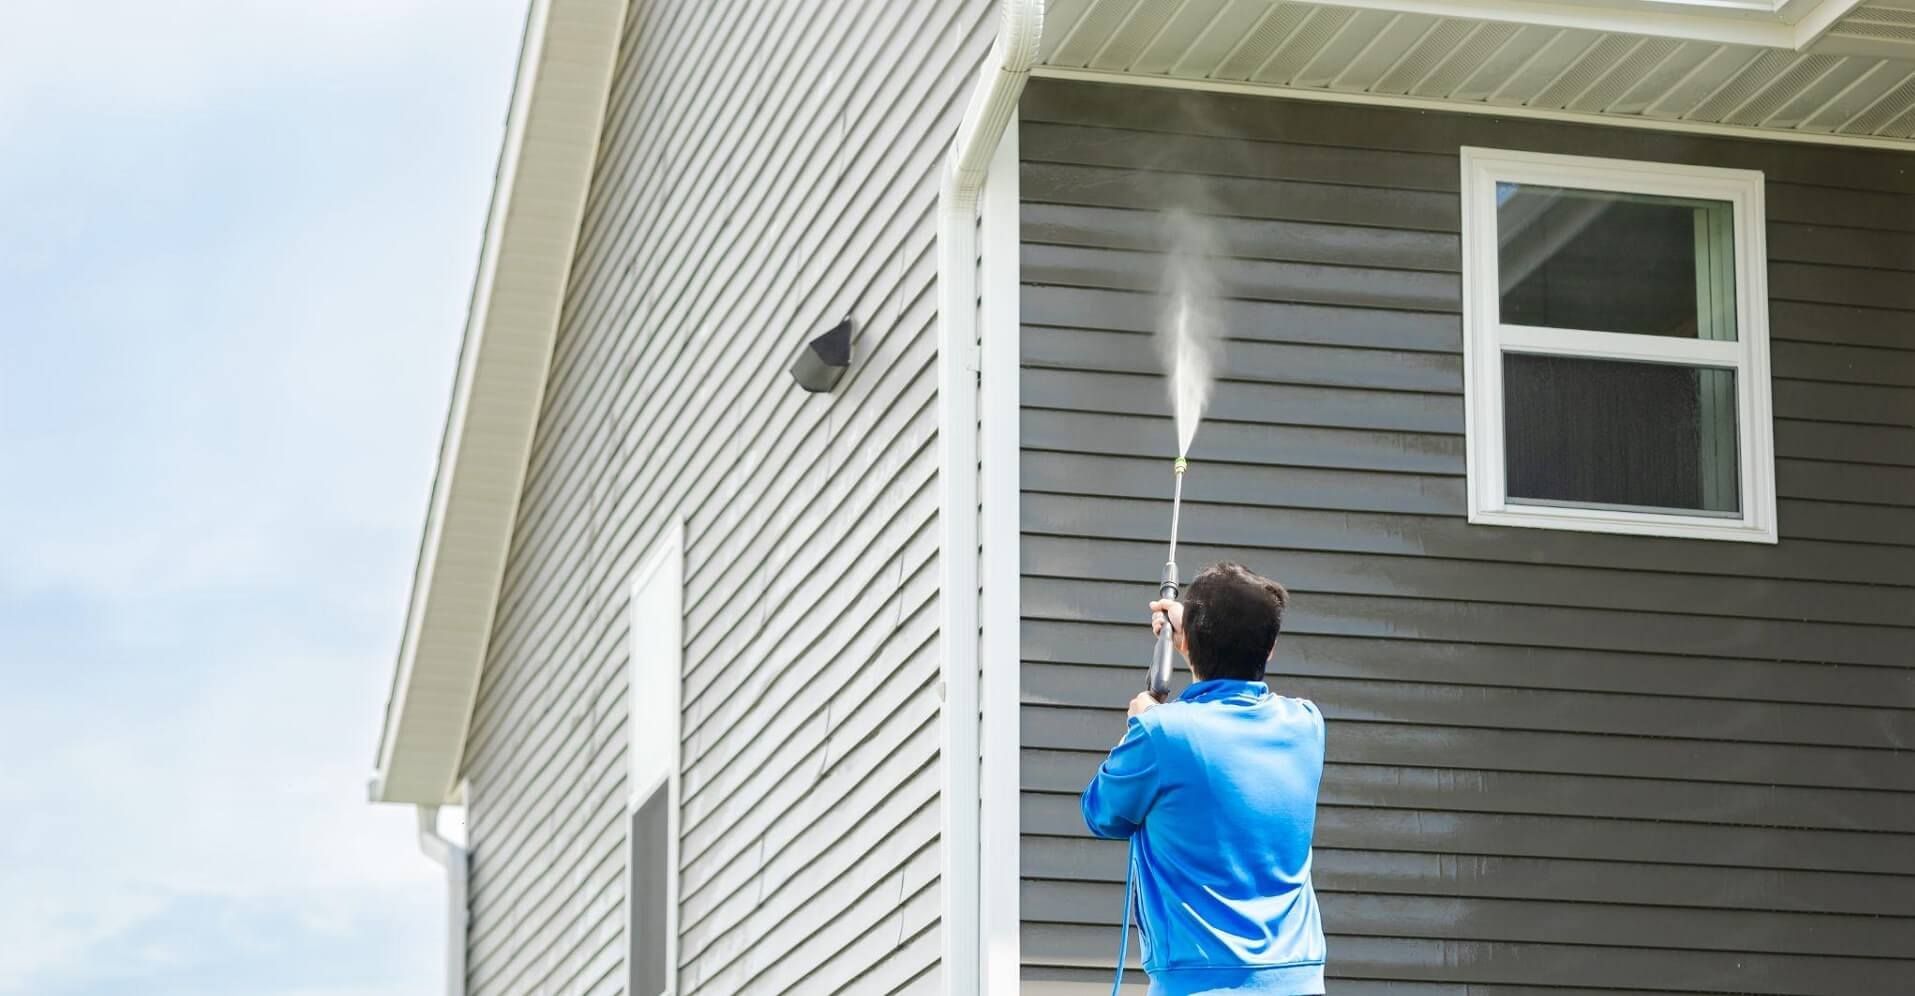
Power washing can damage siding or paint when pressure is too high or surfaces are weak. Learn how Boise homeowners can clean exteriors safely.


