What Order Should I Paint My Cabinets in a Kitchen Remodel?

January 4, 2025

Remodeling your kitchen is an exciting project, but it requires careful planning and coordination. From installing new countertops to updating flooring, every step needs to happen in the right order to ensure a smooth process and flawless results. If you’re planning to include cabinet painting as part of your kitchen remodel, you might be wondering—what’s the best time to paint your cabinets?


At Spray ’n Coat Painting, we recommend saving cabinet painting for the final stages of your remodel. Here’s why—and how cabinet painting fits into the ideal kitchen remodel timeline.


The Ideal Order for Your Kitchen Remodel


1. Demolition and Prep Work
Start by removing old materials and fixtures like cabinets, countertops, and flooring. Demolition can be messy, with plenty of dust and debris, so it’s best to complete this step before any painting begins. Clearing the space ensures a fresh start for all the new installations.


2. Structural and Electrical Changes
If your remodel includes moving walls, adding electrical outlets, or updating plumbing, this is the time to handle it. These tasks often require cutting into walls or ceilings, which could damage freshly painted surfaces if done later.


3. Flooring Installation
Install your new flooring next. Doing this step before painting cabinets ensures the floors are protected from splatters or spills. It also avoids the need to adjust cabinet heights for thicker flooring materials like hardwood or tile.


4. Cabinet Installation or Refinishing
If you’re replacing your cabinets, they should be installed before painting and before countertops are added. If you’re keeping your current cabinets and simply refinishing or painting them, wait until other major installations are complete to avoid damaging the new paint job.


5. Countertop Installation
Countertops are heavy, custom-fitted, and often require adhesives that can create dust and debris. Installing countertops before painting your cabinets protects the painted surfaces from accidental damage during the installation process.


6. Backsplash Installation
Once your countertops are in place, it’s time to add the backsplash. This step involves grout, adhesives, and cutting materials that can create a mess. Completing this step before painting ensures no splashes or spills affect the cabinet finish.


7. Appliance Installation
Bring in new appliances toward the end of the remodel. Installing appliances before painting cabinets reduces the risk of damaging freshly painted finishes while moving heavy items into place.


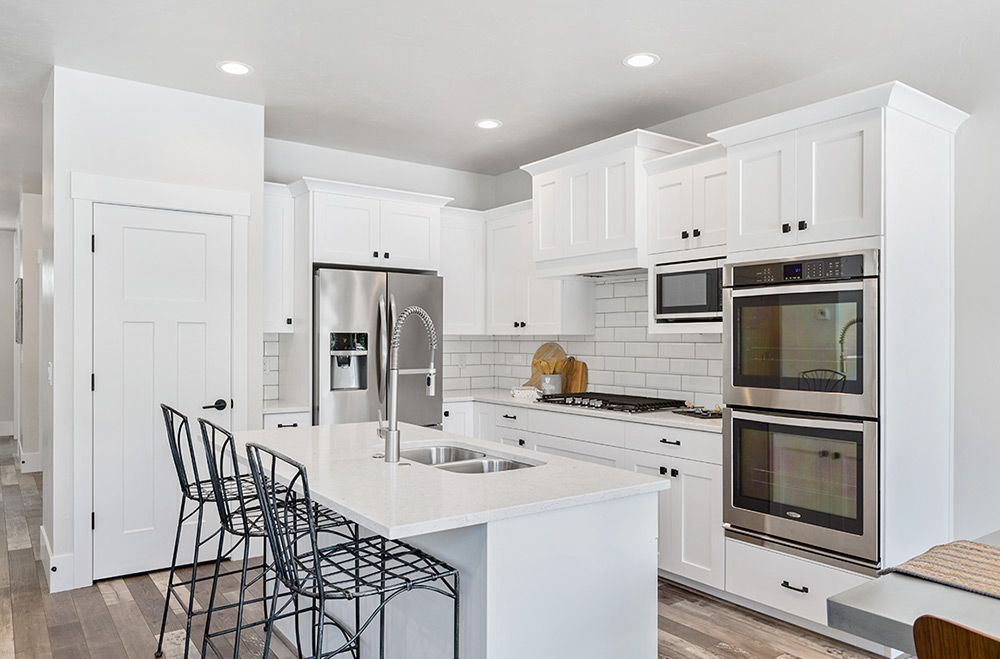
8. Painting Cabinets and Walls
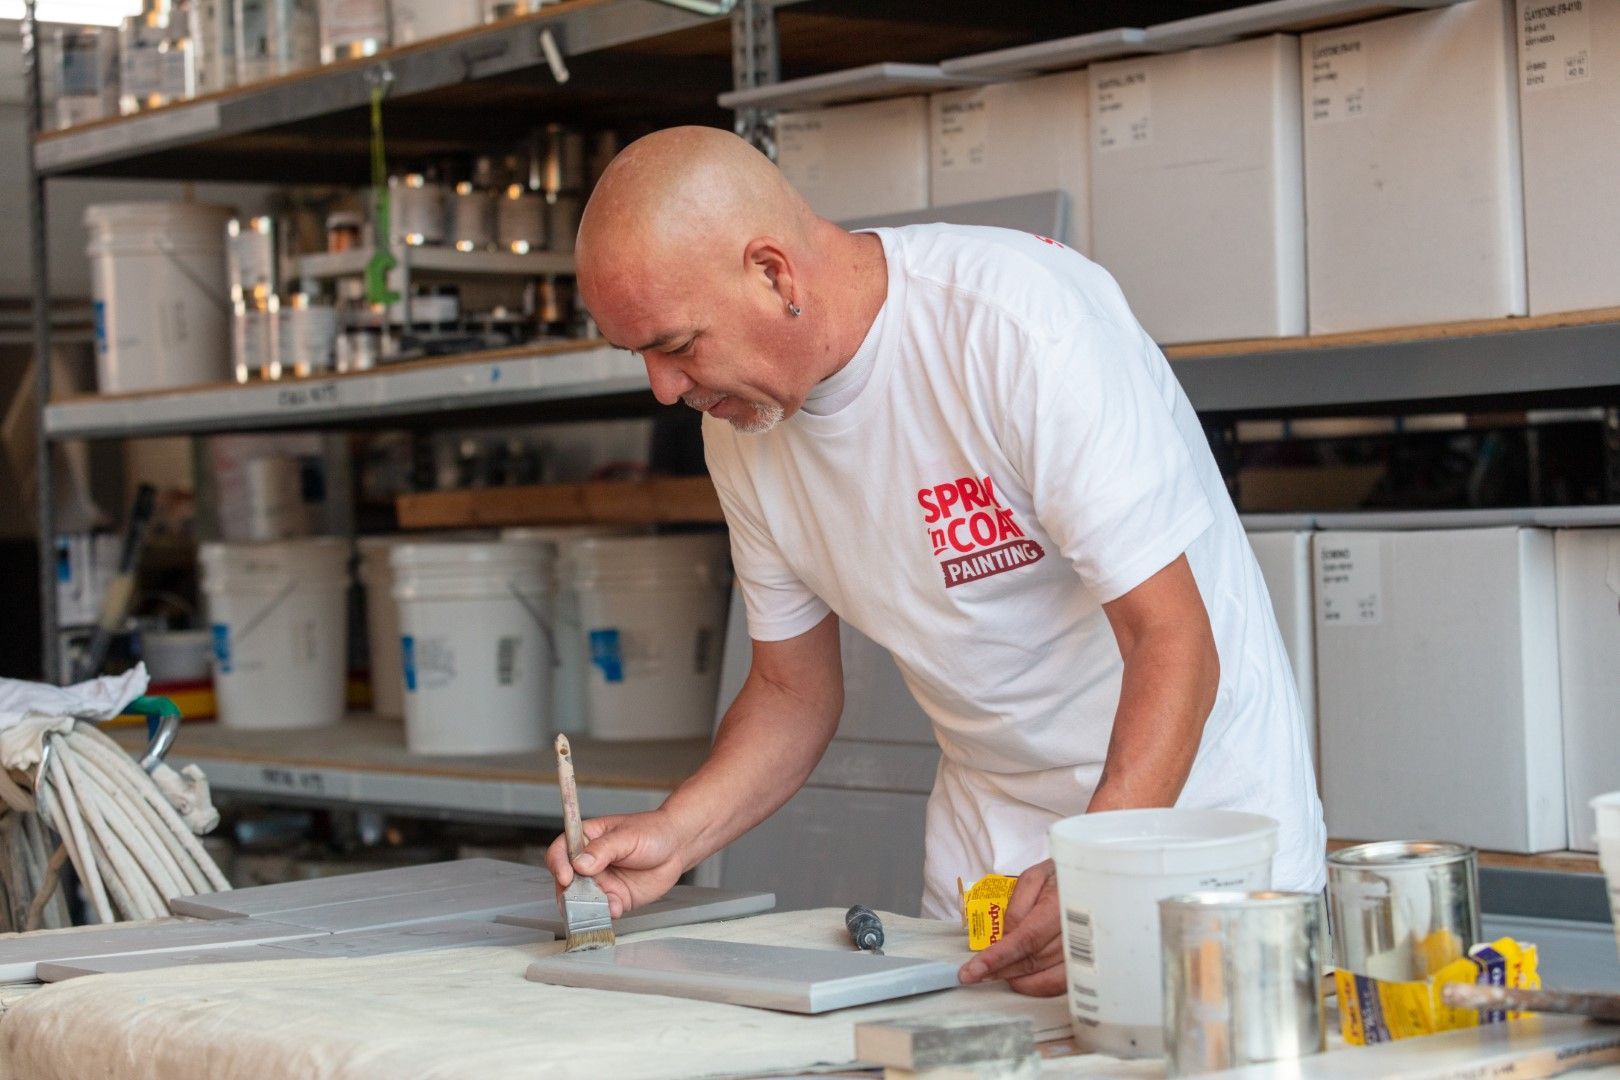
Finally, it’s time to paint! This is where Spray ’n Coat Painting comes in. Painting cabinets and walls last ensures that surfaces are free from scratches, dust, or debris left behind by earlier stages of the remodel. It also allows us to touch up any nicks or scuffs that may have occurred during installation.


9. Final Touches
Finish your remodel by adding light fixtures, cabinet hardware, and decorative elements. With cabinets and walls freshly painted, your kitchen will look polished, cohesive, and ready to enjoy.


Why Painting Cabinets Comes Last


  • Avoiding Damage: Painting last minimizes the risk of scratches or chips from tools, dust, or heavy materials being moved around during the remodel.
  • Perfect Fit and Finish: Waiting until all major installations are complete ensures that the paint color complements the finished look of your kitchen, from countertops to backsplashes.
  • Cleaner Results: Painting at the end allows us to provide a spotless finish, free from any dust or debris that might interfere with the paint application.


What About Wall Painting?
If your remodel includes wall painting, this should also be done at the end of the project. Painting walls after the backsplash and cabinet work ensures the paint looks fresh and untouched by any installation-related scuffs or marks.


Contact Spray ’n Coat Painting for a Flawless Finish
At Spray ’n Coat Painting, we know the importance of timing during a kitchen remodel. Our team works closely with homeowners and contractors to schedule cabinet and wall painting services at just the right moment. Painting your cabinets last ensures a stunning, long-lasting finish that enhances the overall beauty of your remodel.


Contact us today or fill out our request form to schedule your free on-site estimate and let Spray ’n Coat Painting bring the finishing touches to your dream kitchen!

September 5, 2025
Full exterior repaint brings new life to a Nampa neighborhood home At Spray ’n Coat Painting, we know that color can completely change how a home feels. For this Nampa homeowner, it was time to say goodbye to the dated tan and bring in something brighter and more cheerful. A full exterior repaint in a fresh pastel green paired with crisp ultra-pure white trim gave this home a lively new look while still feeling timeless in the neighborhood. The Scope Complete exterior repaint with repairs and prep This project involved a full repaint of the siding, trim, fascia, soffits, gutters, downspouts, and doors. Before painting, our crew filled holes along the right side of the home where an old cable had been removed, reinstalled the dryer vent, and backrolled the entire bottom edge of the home for smooth, even coverage. The System Durable coatings and careful prep for lasting results We applied pastel green as the body color, matching the soffits, front door, garage doors, and man doors to keep a clean, consistent look. The window trim, fascia, and gutters were finished in ultra-pure white for a bright, modern contrast. To ensure proper adhesion, we also primed the factory-finished gutters before painting.
September 5, 2025
A high-performance floor system for a large 2,400 sq. ft. shop We recently completed a floor coating project in Marsing for a homeowner with a spacious 2,400 sq. ft. shop. With a space this large, the homeowner needed a floor that could handle heavy use, resist staining, and still look professional. They reached out to Spray ’n Coat Painting for a better-than-epoxy solution that would be durable, easy to maintain, and visually appealing. Here’s What We Did Surface Prep and Grinding: We started by diamond grinding the entire shop floor to open up the concrete and create a proper surface for adhesion. Any imperfections were repaired to ensure the coating bonded securely. Base Coat and Decorative Flake: Once the surface was prepped, we applied our industrial-grade polyurea base coat, followed by a full broadcast of our popular Keystone chip blend. This decorative flake system not only adds traction but also provides a clean, modern look that complements a wide range of shop uses. Protective Topcoat: To finish, we installed a UV-stable polyaspartic topcoat. This protective layer seals everything in, delivering long-term resistance against abrasions, chemicals, and Idaho’s extreme temperature swings, while also making the floor much easier to clean.
September 5, 2025
A sleek cabinet makeover with soft-close upgrades and a professionally painted finish When this Meridian homeowner reached out, they had already attempted to repaint their kitchen cabinets on their own—but weren’t happy with how things were turning out. They knew they wanted a crisp, professional look and upgraded functionality. That’s where our cabinet refinishing team stepped in. We refinished all 16 cabinet doors and 14 drawer fronts in a rich charcoal hue, paired with new soft-close micro hinges to give the entire space a polished, high-end feel. The darker tone added contrast and elegance, creating the elevated finish they had originally envisioned. The Scope A full kitchen cabinet repaint with soft-close hardware installation This project included: 16 cabinet doors 14 drawer fronts Removal of old hinges and installation of new soft-close micro hinges All surfaces were cleaned, sanded, primed, and professionally sprayed using our factory-grade cabinet finish system for long-term durability and a beautiful satin sheen. The System A smooth, durable finish designed for everyday use We used a premium 2K waterborne polyurethane system from Gemini that cures harder and holds up better than traditional lacquer finishes. Unlike pre-cat lacquers or conversion varnishes that may yellow or crack over time, this cabinet-grade system resists chipping and stays looking new for years to come.
September 5, 2025
When CS Beef Packers reached out about coating specific walkways and restroom entry points in their Kuna facility, the priority was clear—improving safety and durability in areas exposed to constant foot traffic. This fast-paced industrial environment required a non-slip solution that could be installed quickly without compromising performance. We were glad to deliver a clean, safe, and long-lasting result. The Scope Strategic surface coating in hallways and entry areas This commercial floor coating project focused on two main hallway sections of approximately 100 square feet each , along with four restroom/locker room entry areas , ranging from 50–65 square feet per section. Our team completed all work in a single Saturday , carefully stopping at natural breaks in the concrete for a seamless finish that blended well with the surrounding flooring. The System Industrial-grade coating built for traction and longevity  To ensure long-term adhesion and optimal performance, we followed a multi-step process designed specifically for non-slip protection in commercial environments: Surface Prep : Concrete was aggressively sanded and ground to remove all existing coatings, wax, and surface contaminants. Epoxy Primer/Base Coat : A base layer of epoxy was applied directly to the bare concrete for strong bonding and as the foundation of the system. Quartz Broadcast : We applied a full broadcast of 50/70 mesh quartz sand into the wet epoxy to create a high-traction, textured surface. Topcoat : The system was completed with a light grey epoxy topcoat for added durability, visual clarity, and easy maintenance.
By Aaron Cote August 28, 2025
Learn how a Boise commercial painting contractor uses durable paints, coatings, and maintenance services for high-traffic commercial interiors.
By Aaron Cote August 20, 2025
Discover the ROI of repainting your commercial building with a Boise commercial painter. Learn how commercial interior painting boosts value and appeal.
By Aaron Cote August 12, 2025
Learn how a Boise commercial painting contractor meets OSHA safety standards during painting and coating projects for safe, reliable, and professional results.
By Aaron Cote August 6, 2025
Learn the key differences between commercial and residential painting. Discover why hiring a commercial painter in Boise makes sense for business owners.
August 4, 2025
Spray ’n Coat Painting recently completed a wood door refinishing project for a homeowner in Middleton, Idaho. Over time, their beautiful solid wood front door had faded and weathered from sun exposure—something we see often across the Treasure Valley. But rather than replace the door, the homeowner reached out to us to restore its appearance and match the interior wood tones for a cohesive look inside and out. Here’s What We Did We began by carefully sanding the front door and surrounding trim to remove the worn finish and prepare the surface for new stain. Before proceeding with the full application, we tested a sample stain on a small section of the door to make sure it matched the interior tones. Once approved by the homeowner, we applied stain across the entire door surface while keeping the door in place. After allowing proper dry time, we returned to apply two coats of a UV-stable clear finish. This protective layer will help preserve the color, protect against sun damage, and keep the door looking beautiful for years to come. Why Staining Is Better Than Replacing Many homeowners assume a worn or faded door needs to be replaced—but most solid wood doors just need the right restoration process. Staining not only revives the wood’s natural beauty, but also allows you to better control color tone and finish. It’s a more sustainable and cost-effective way to maintain curb appeal and protect your home’s entryway. Our UV-stable clear coats are especially important in areas like Middleton, where intense sunlight can break down traditional sealants and finishes over time.
More Posts